
難易度:簡單
Difficulty: Easy

準備時間:60分鐘
Prep time: 60 min

烹調時間:2-3小時(此甜品需要冷藏至冰箱)
Cook time: 2-3 H (for resting in the fridge )

人數:8人份
Serving: 8 people

花費:低
Cost: Low
|介紹 INTRODUCTION
定居在義大利的期間,剛好一個來自義大利南部 拿坡里的室友非常喜歡吃提拉米蘇,
經過室友刁專的嘴認證過,好吃且容易上手義式提拉米蘇的食譜,
提拉米蘇之所以推薦給新手,有幾個主要的原因。
第一:它完全不需要“烤箱”!
第二:它是每個來到義大利的人都必須品嚐的甜點!
第三:材料的部分非常的簡單!(如果找不到手指餅乾,不妨可以用比利時的蓮花餅乾spéculoos 替代。)
|食材 INGREDIENTS
模具|
1個 — 8人份 玻璃容器(任何容器都可以)
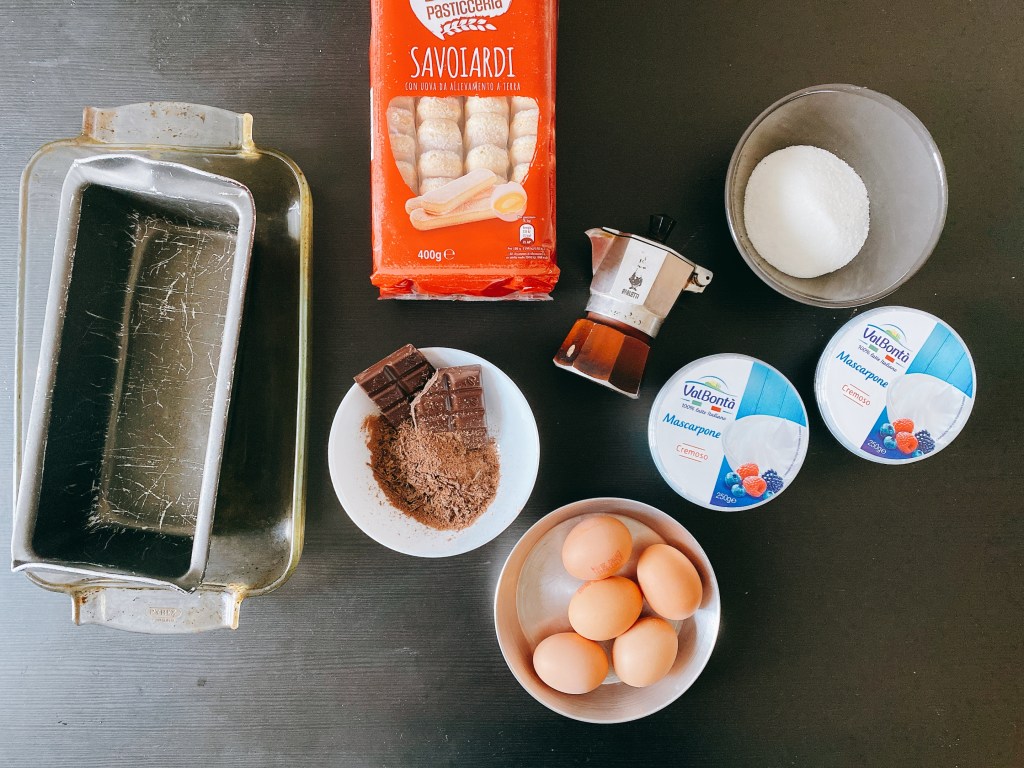
材料|
300g - 手指餅乾 Savoiardi
500g - 馬斯卡彭 Mascarpone
4顆 - 新鮮雞蛋(中型)
100g - 細砂糖
適量 - 黑巧克力碎片
200-300ml - 咖啡 Espresso
適量 - 可可粉
|步驟 STEP
.
・材料與容器準備好。
(容器的部分,其實任何形狀都可以。想要分裝成小杯裝也是沒有問題!)
.
.
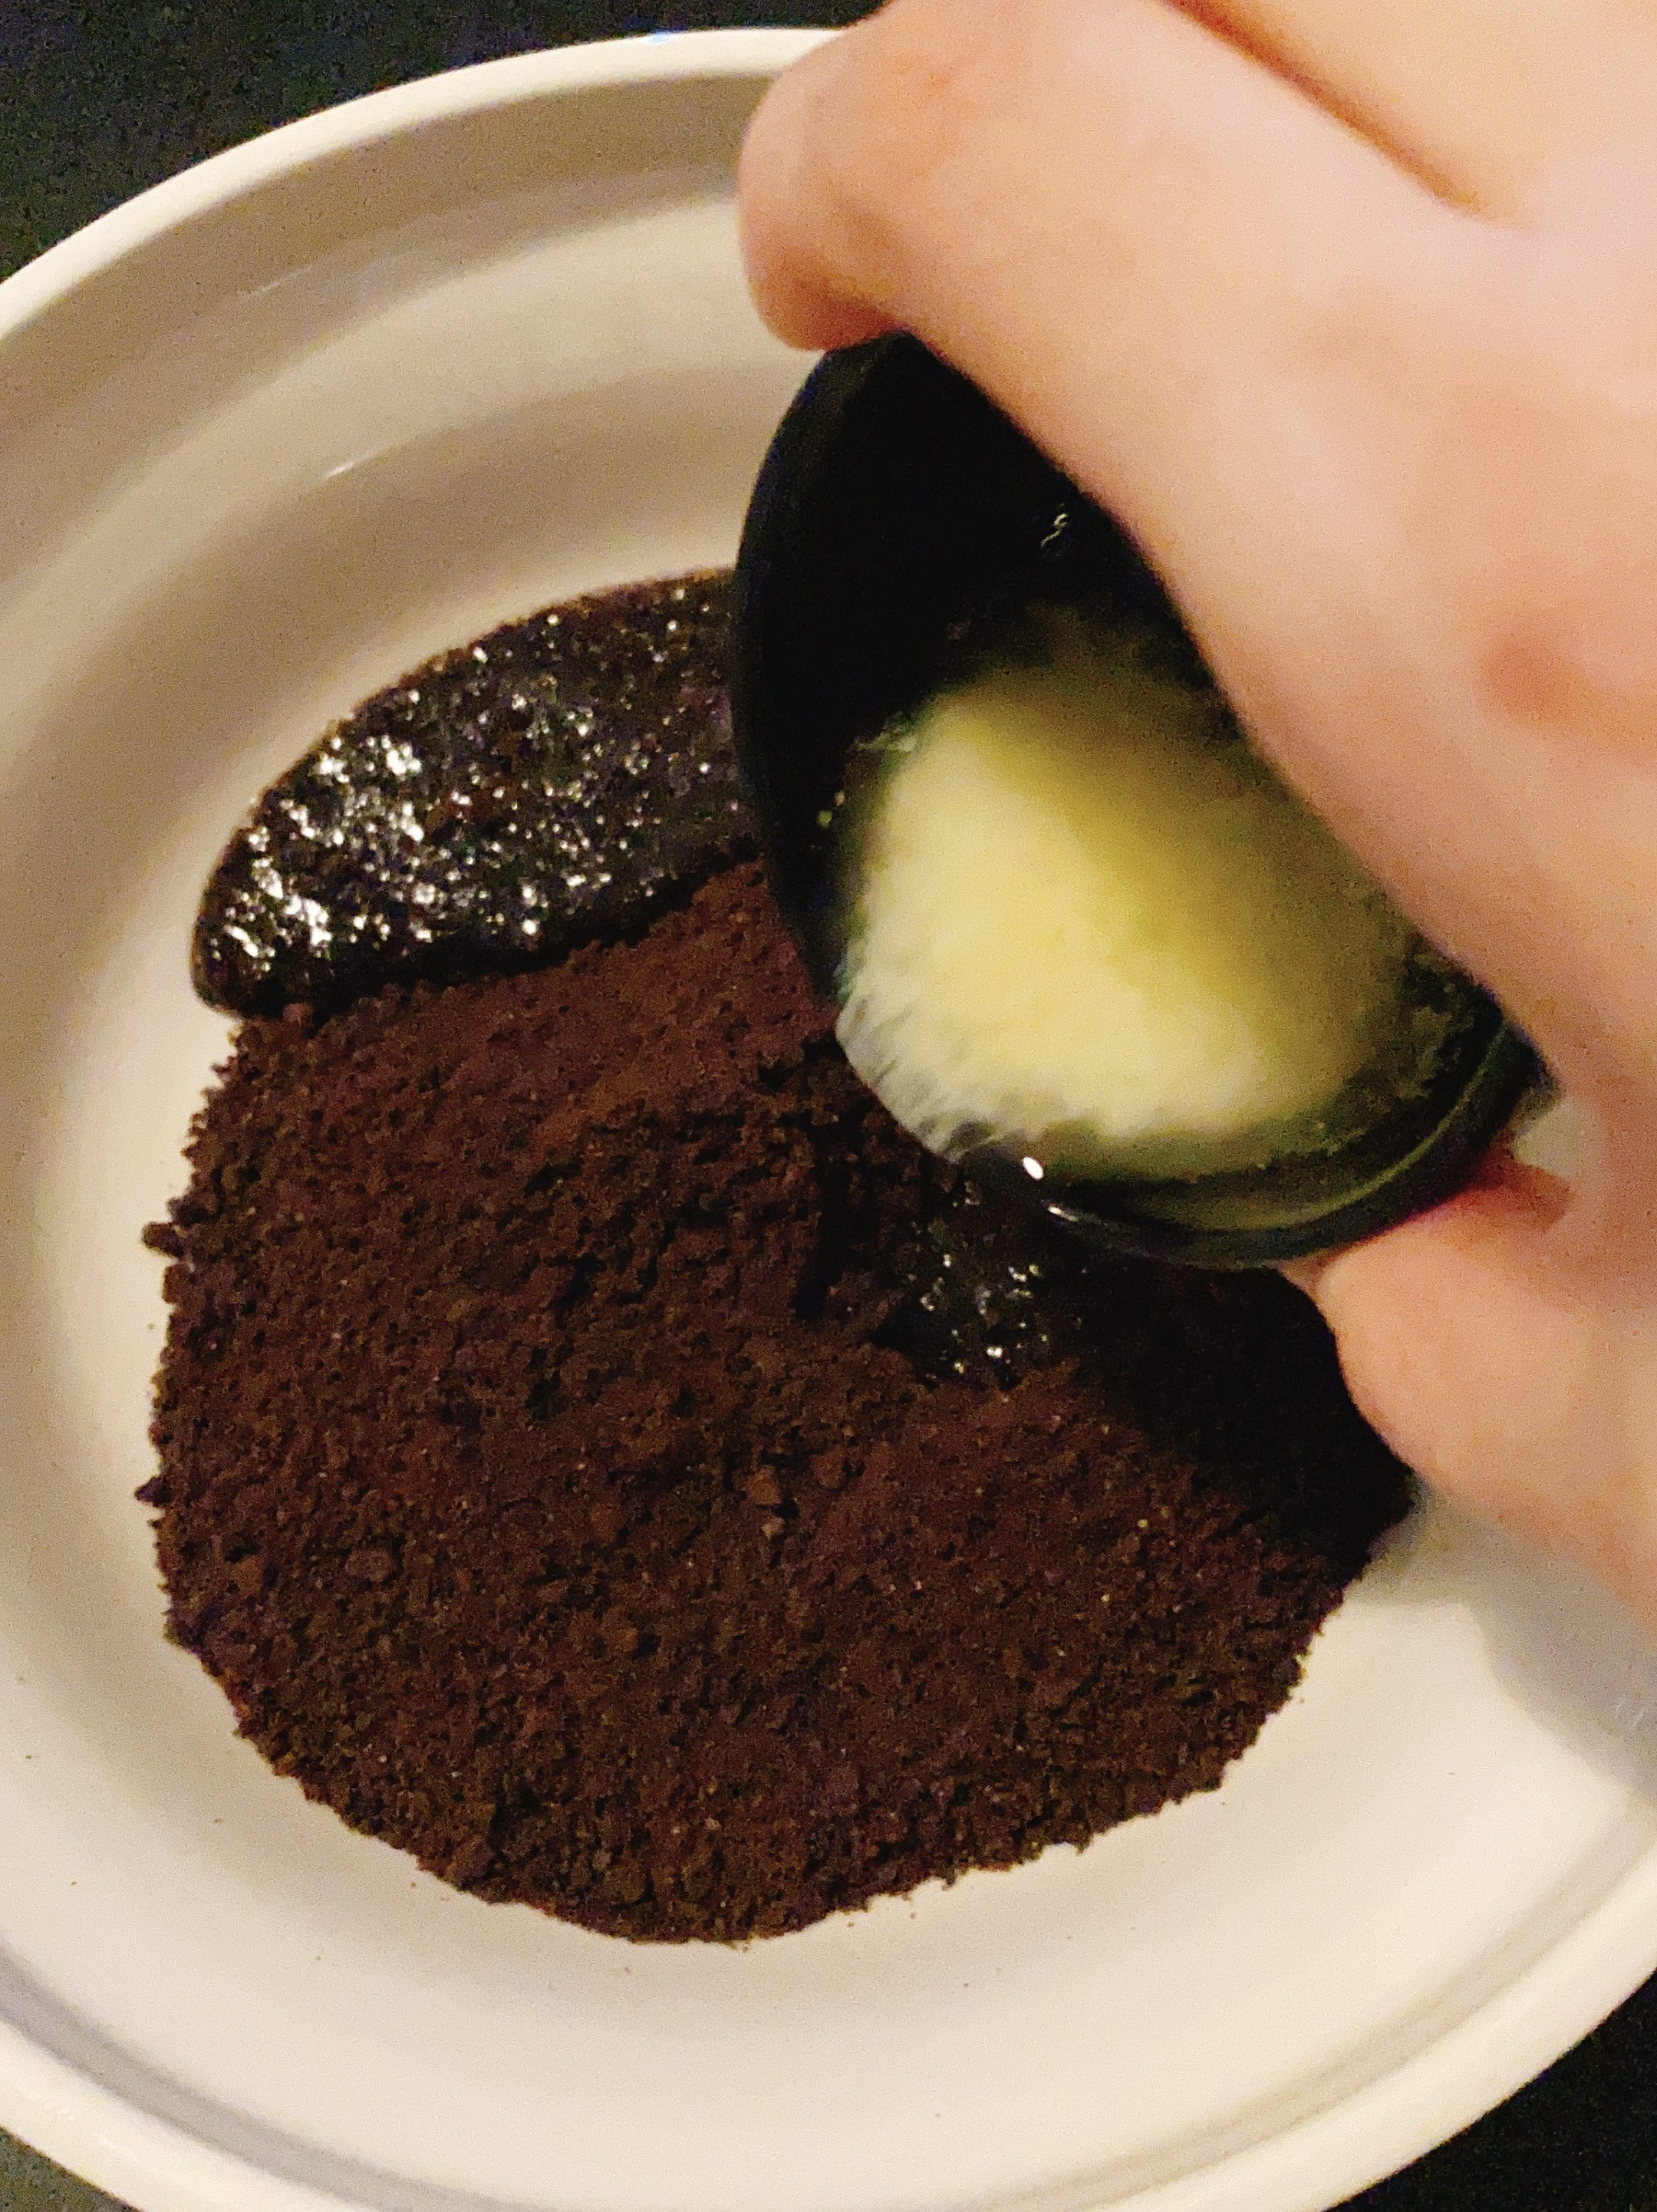
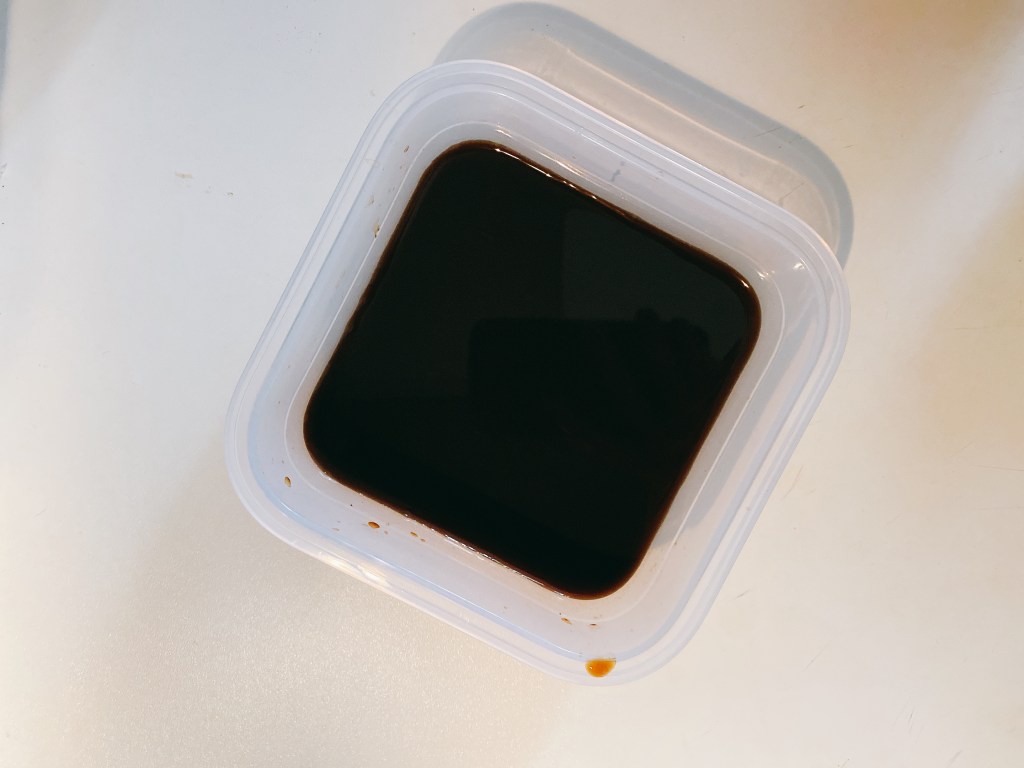
・事先將濃縮咖啡準備好,放涼備用。
(如果使用的是市售的濃縮咖啡也沒有問題!)
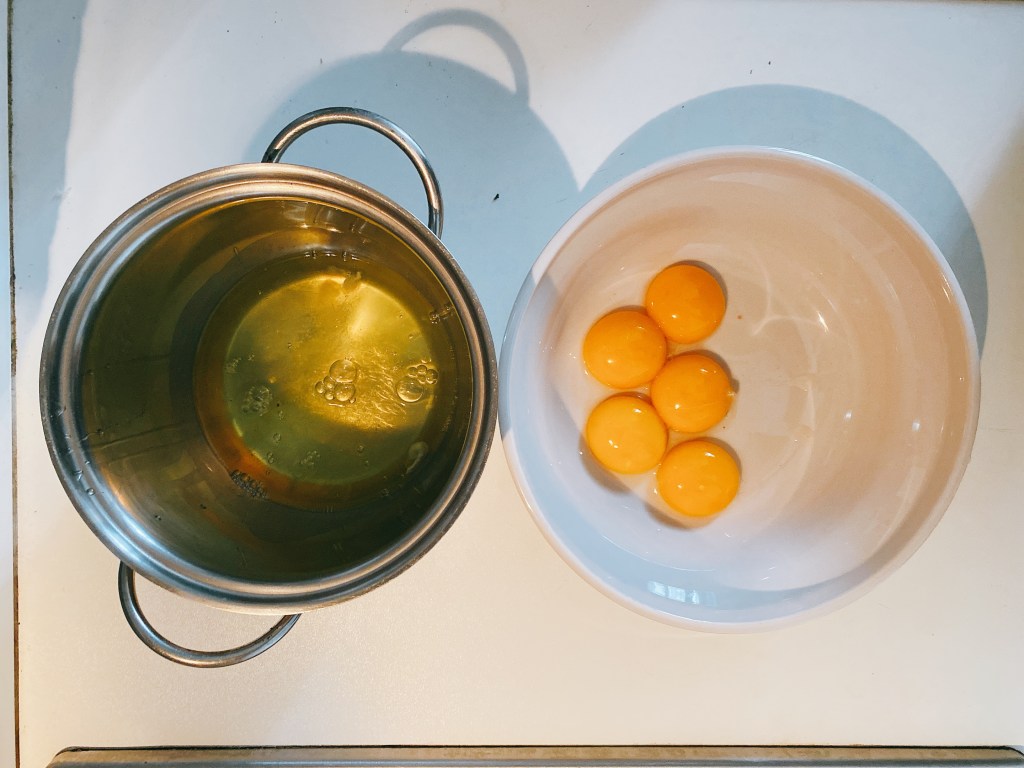
・將蛋黃與蛋白分離,至於容器中。
・放置蛋白的容器,切記避免沾到油脂、蛋黃等,以免後期蛋白打不發。
(這邊筆者使用5顆雞蛋,是因為想要製作多一點起司糊,大家可以跟著食譜數量即可。)
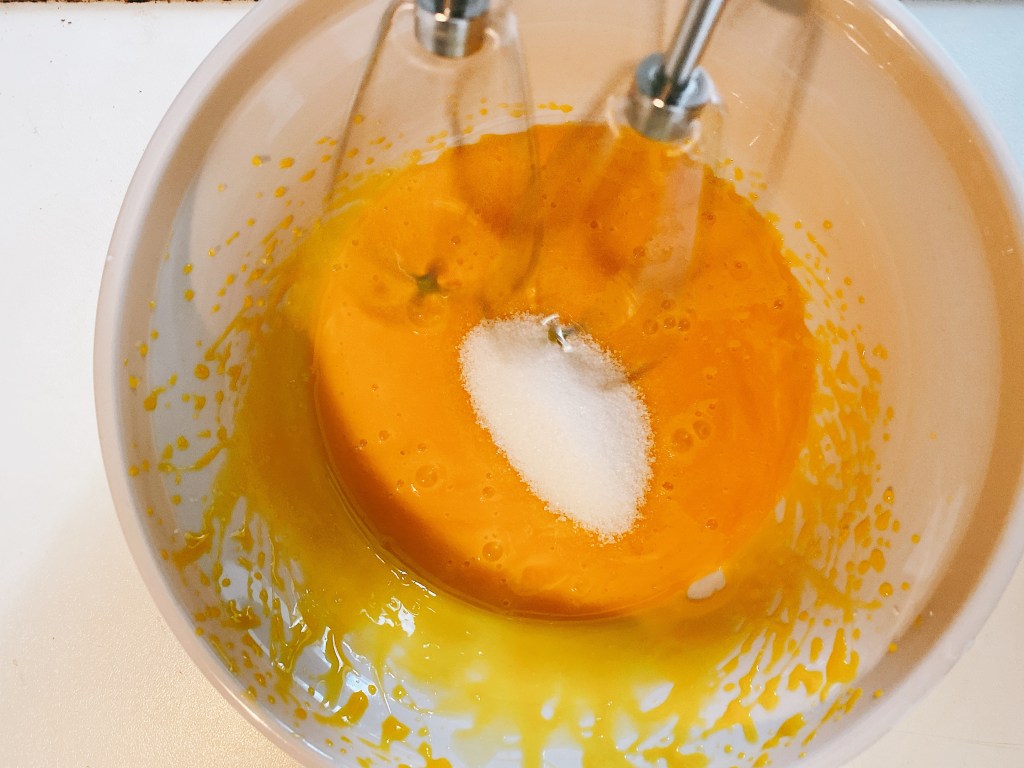
・將「蛋黃」用攪拌器以低速打發,並倒入1/3的「細砂糖」。
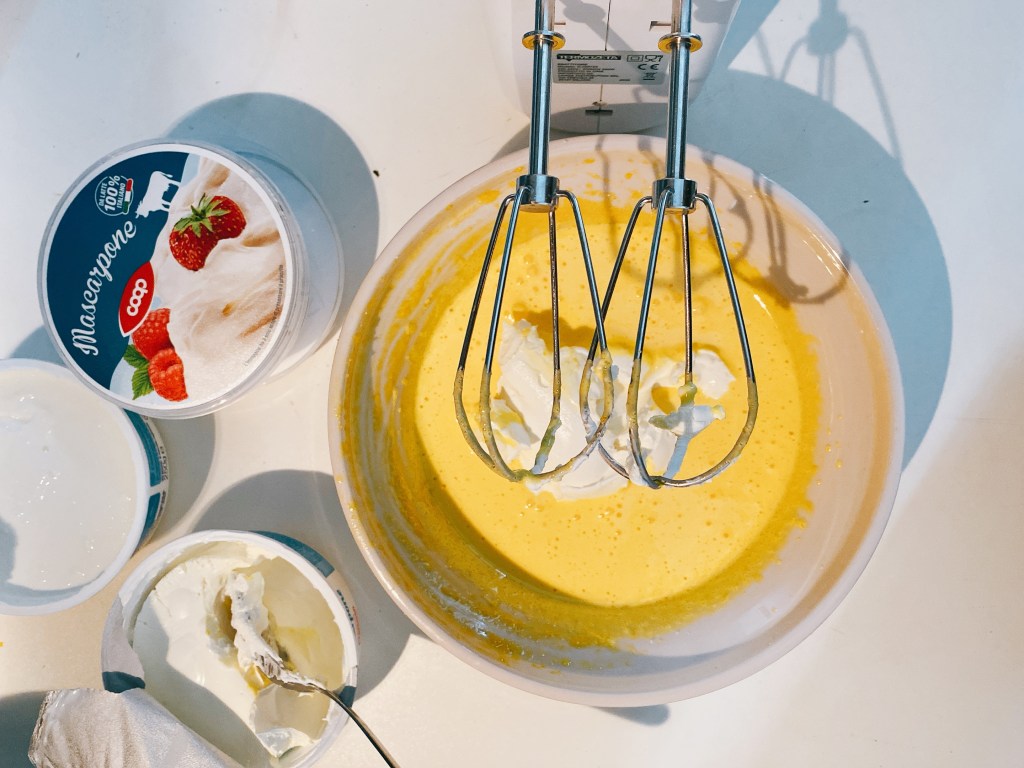
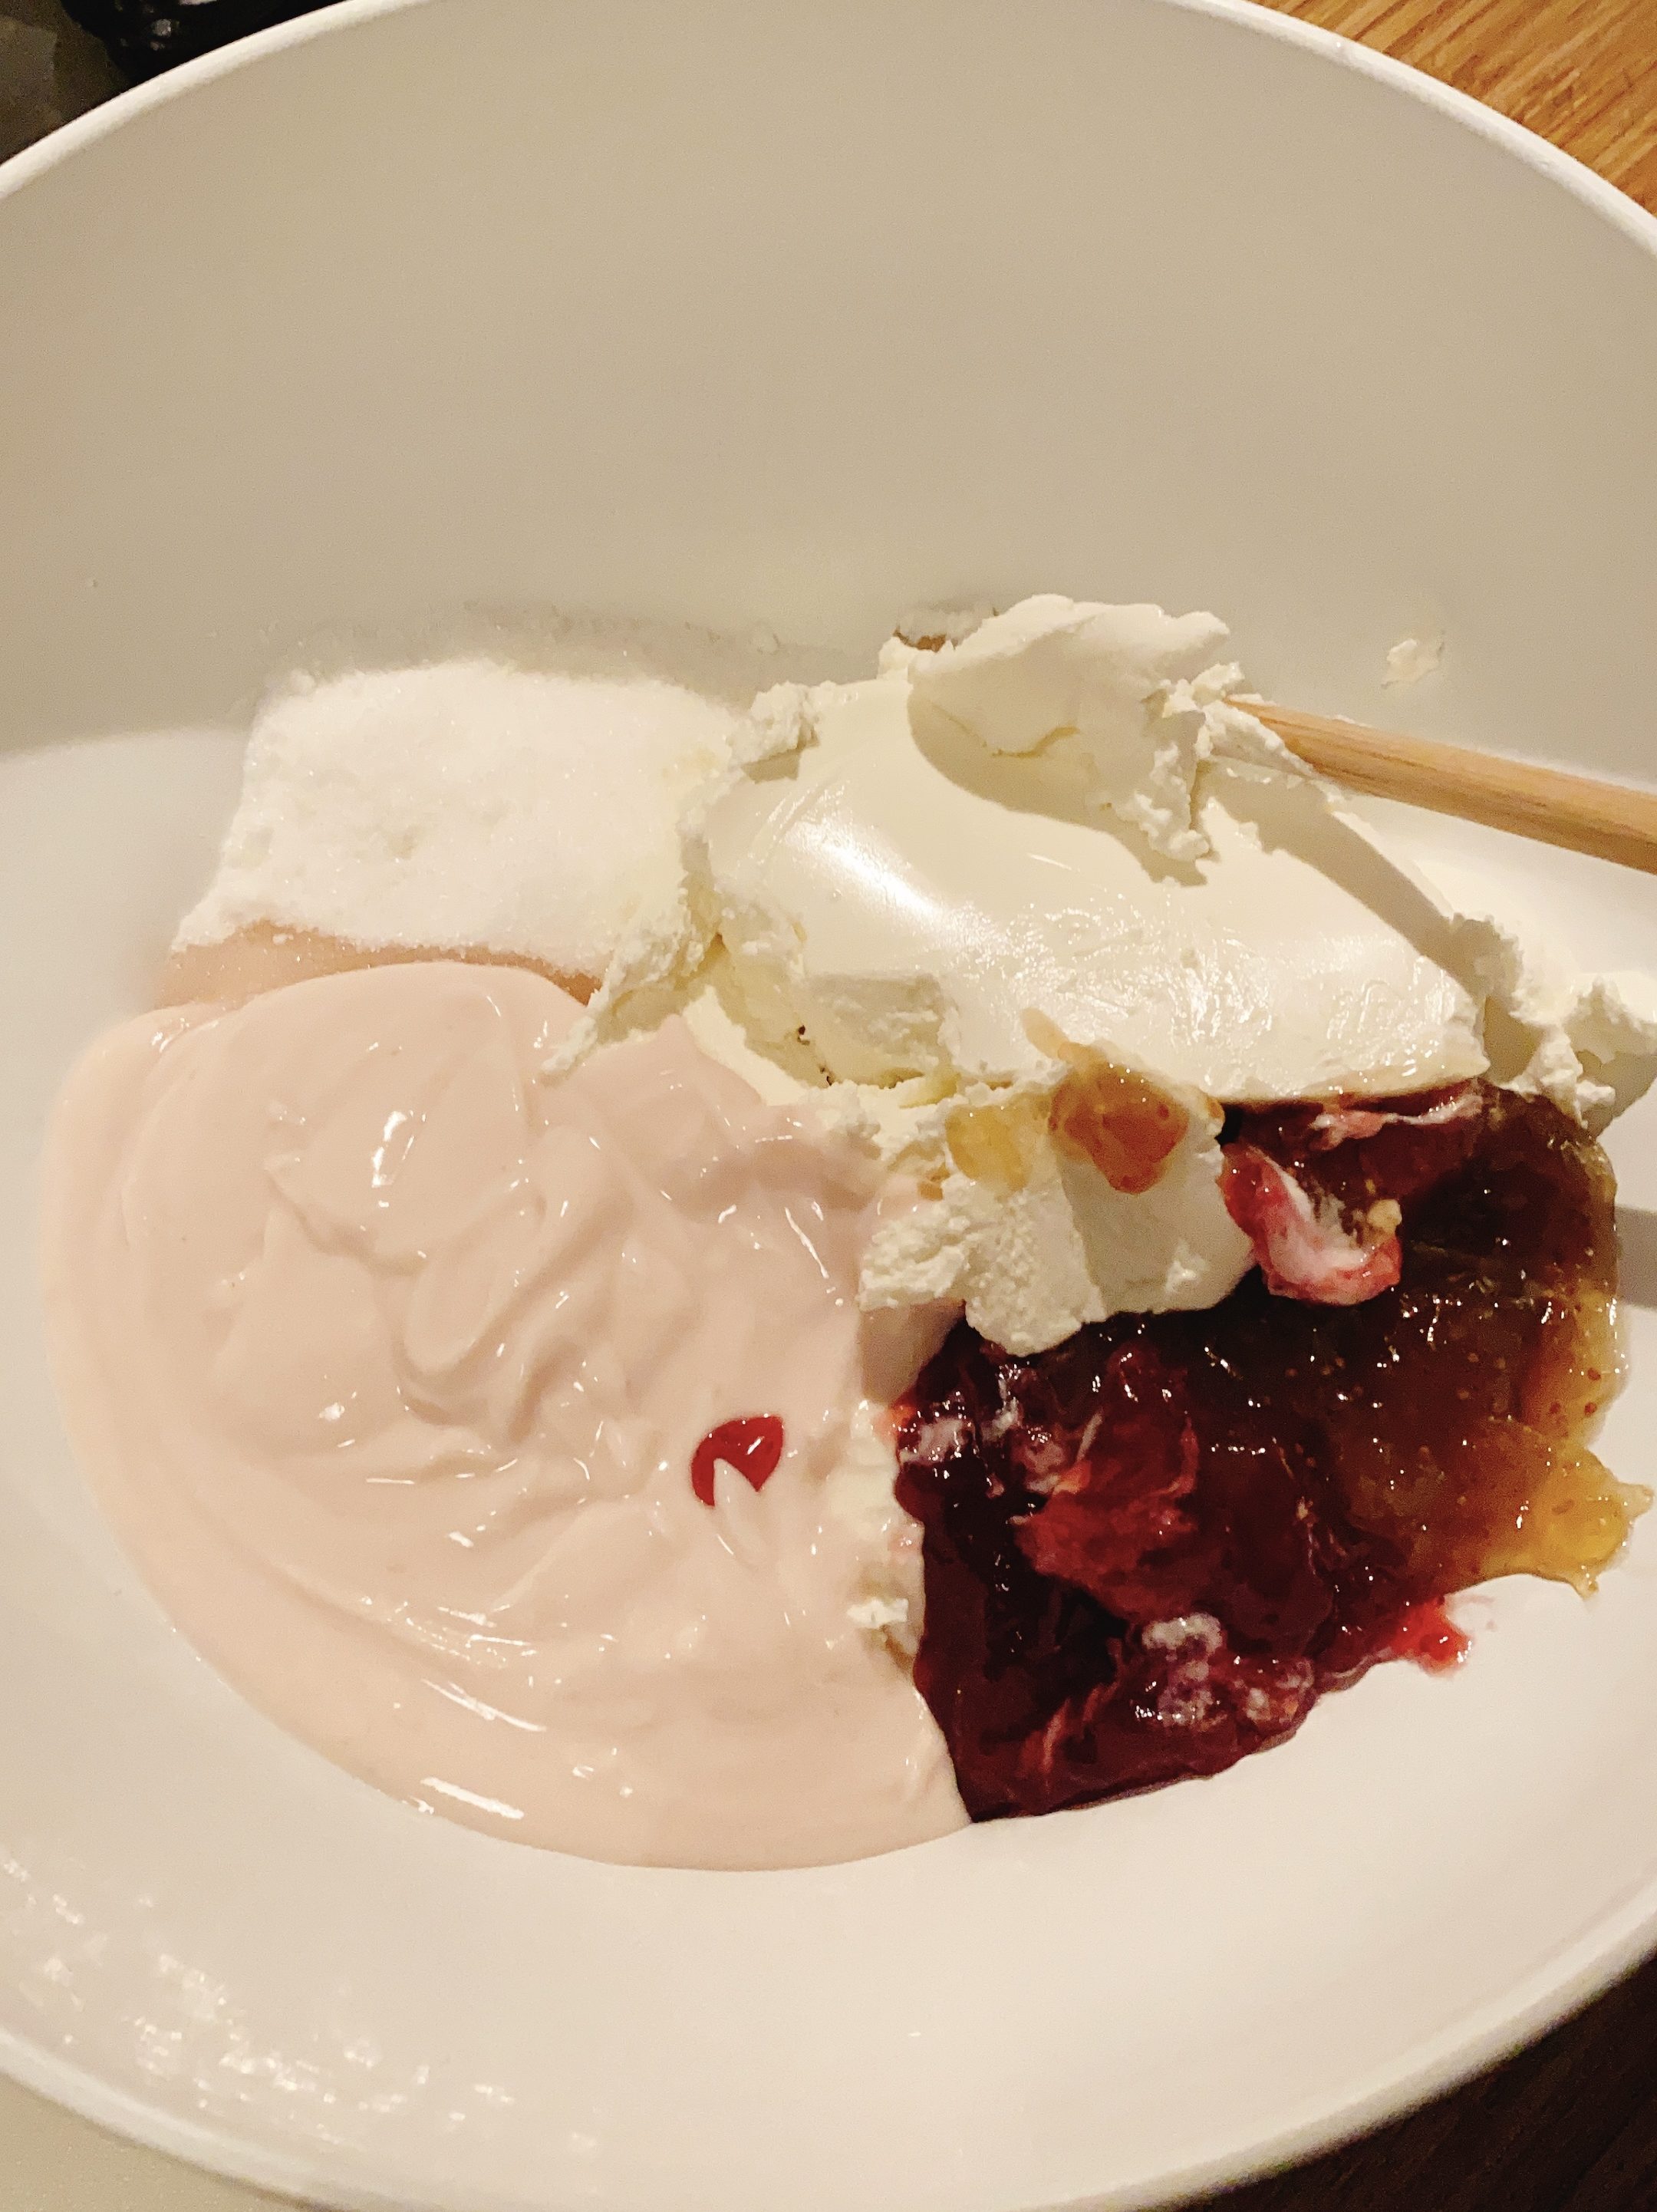
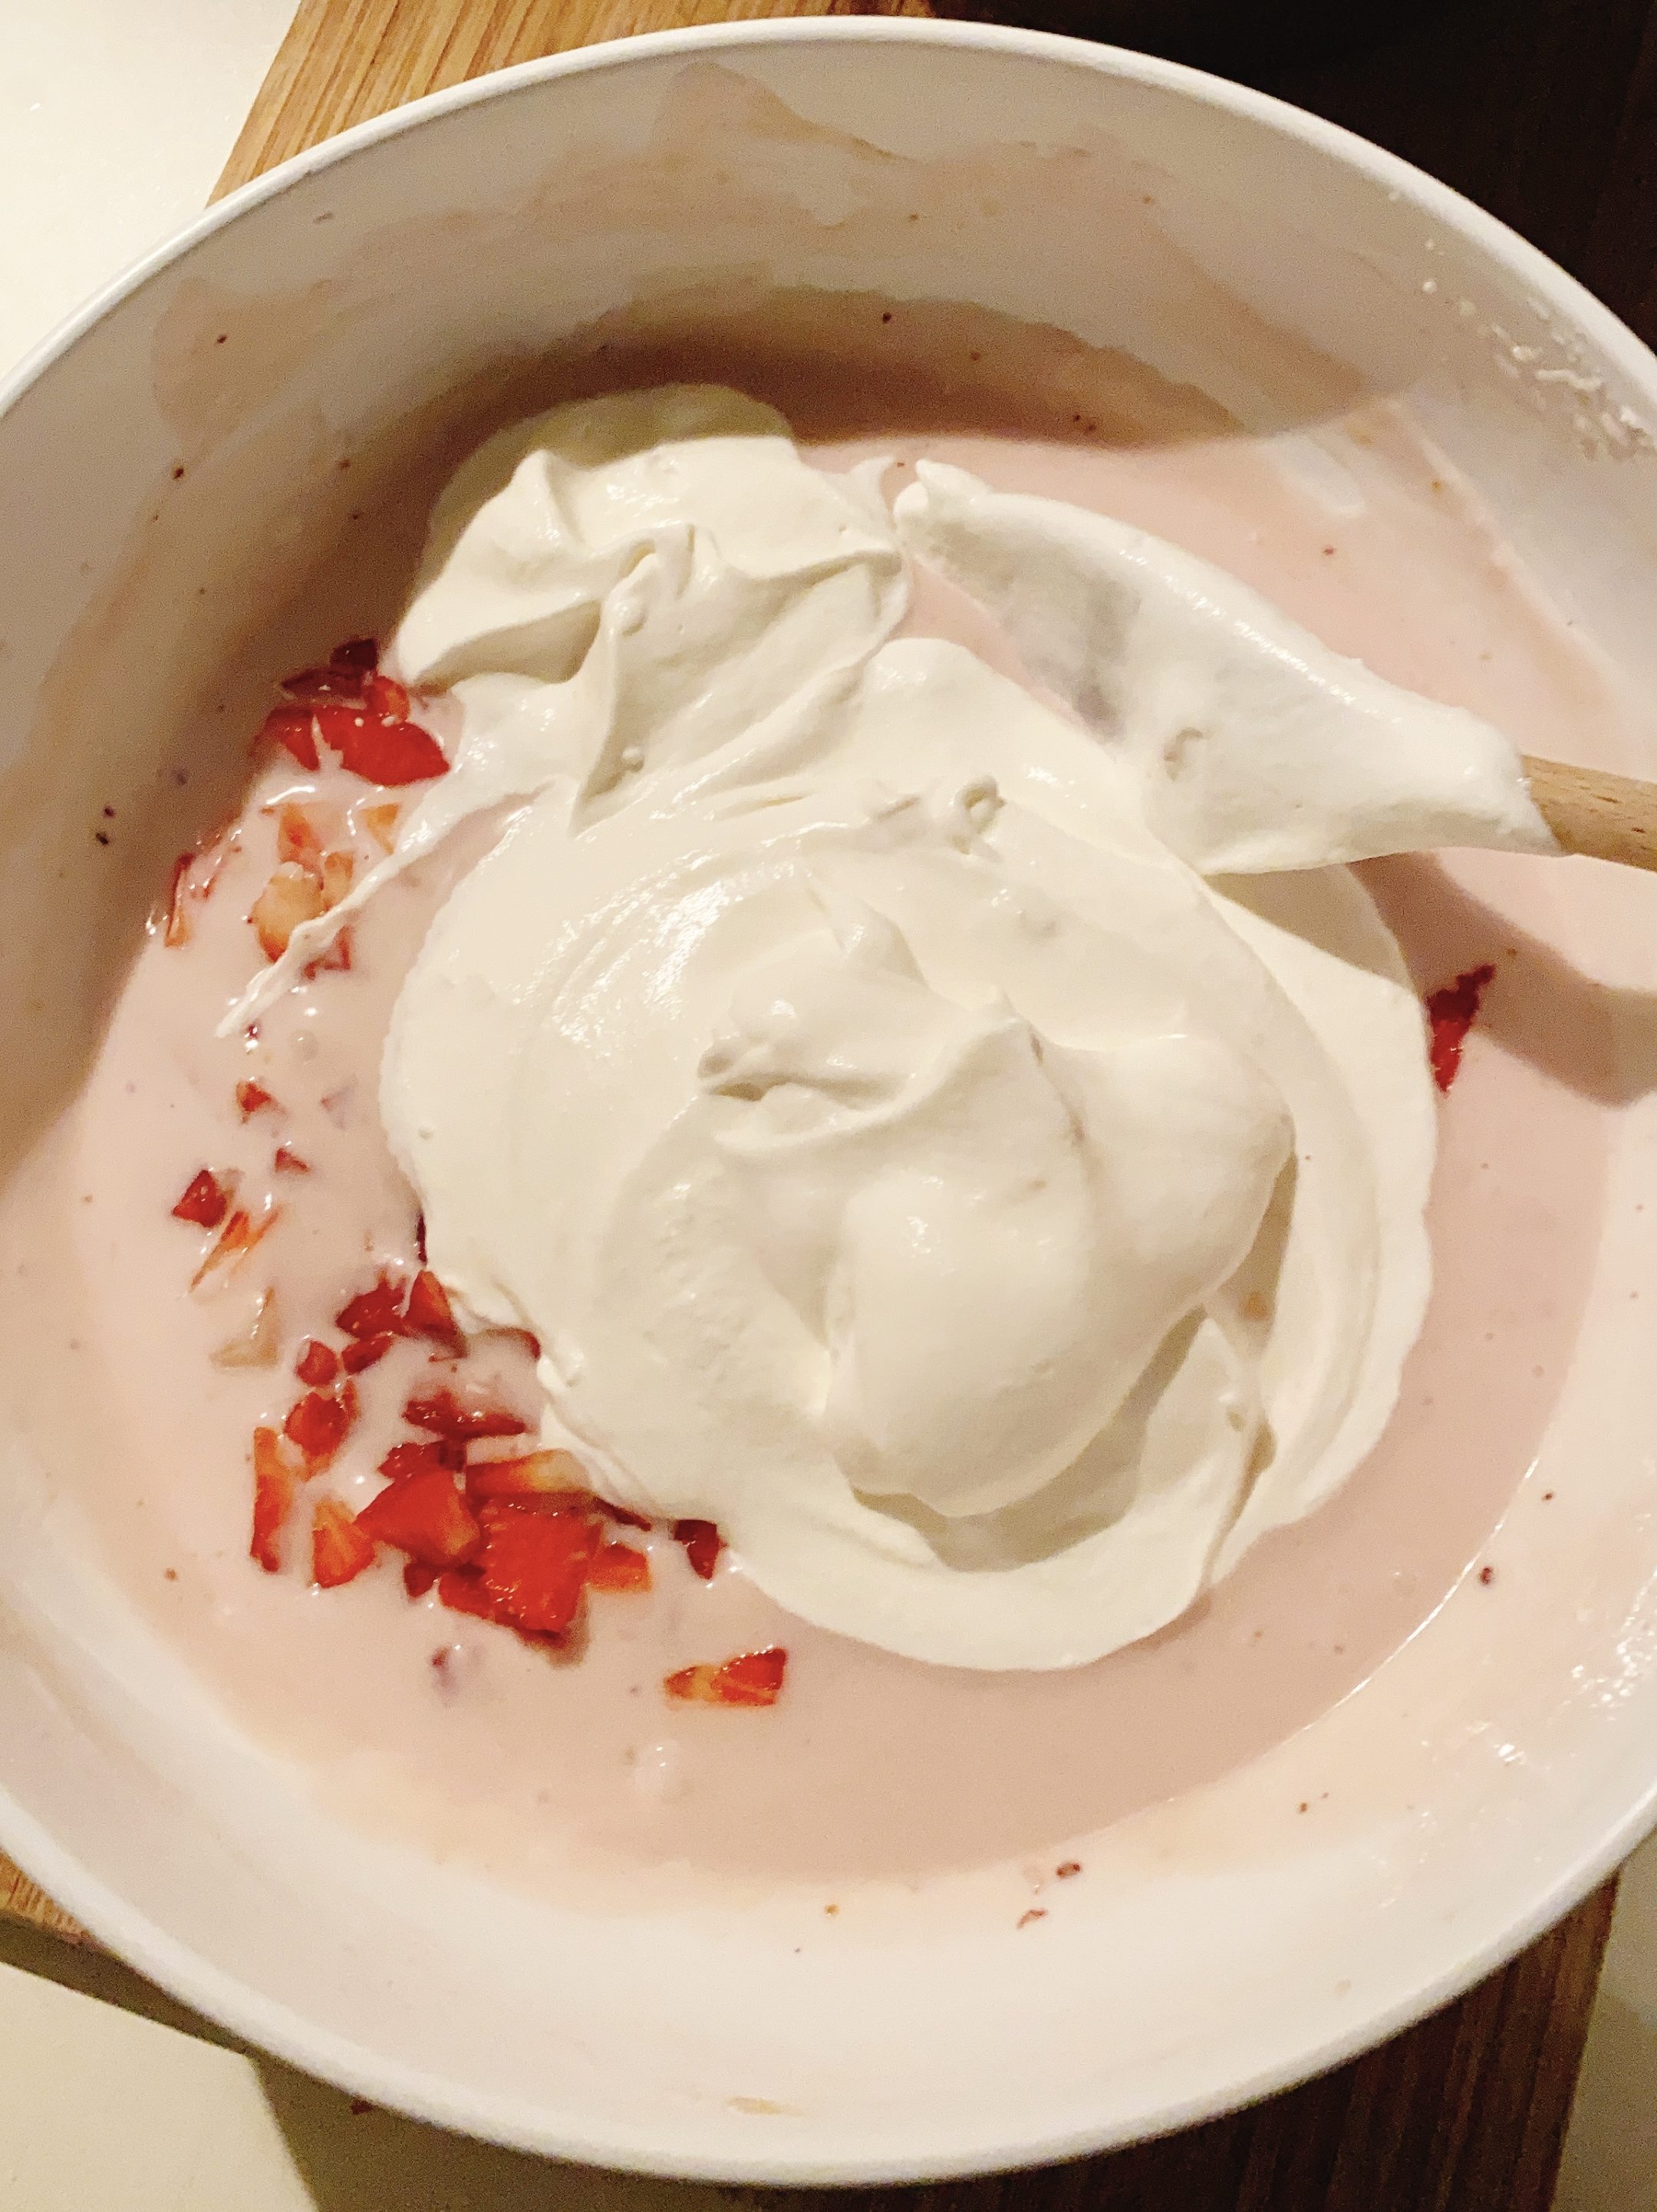
・批次的將「馬斯卡彭Mascarpone」逐步的加入蛋黃糊中攪拌均勻,備用。
(建議將「馬斯卡彭Mascarpone」分成4-5次加入,避免蛋黃糊無法攪拌均勻。)
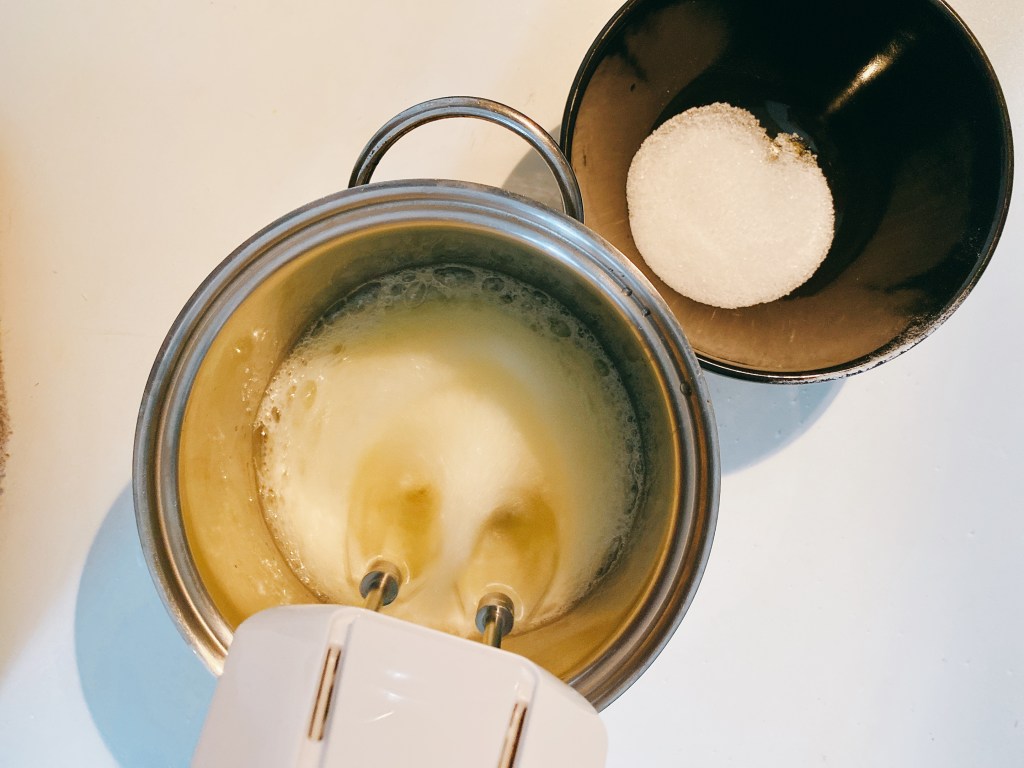
・攪拌器洗淨。
・將「蛋白」用攪拌器以低速打發,出現大氣泡時,逐步倒入剩下2/3的「細砂糖」。
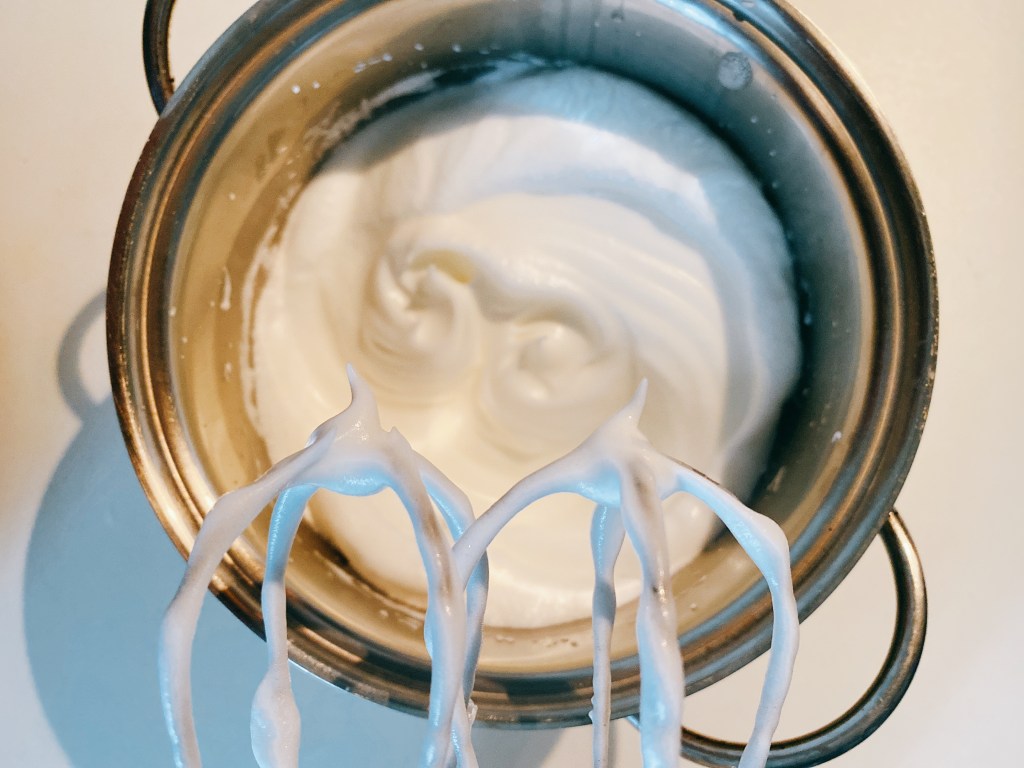
・逐步地打至「濕性打發」,約6-7分。
・當攪拌器上出現「小尖頭」即可,備用。(建議將剩下的砂糖分成2-3次加入,後期攪拌器可以轉至中速。)
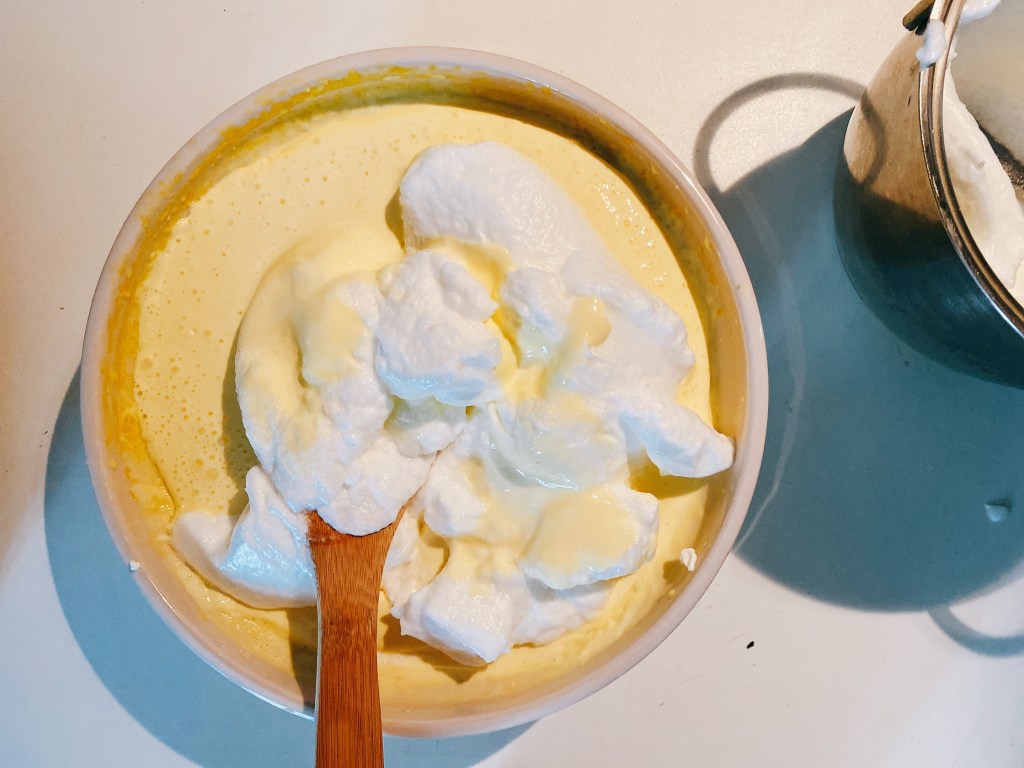
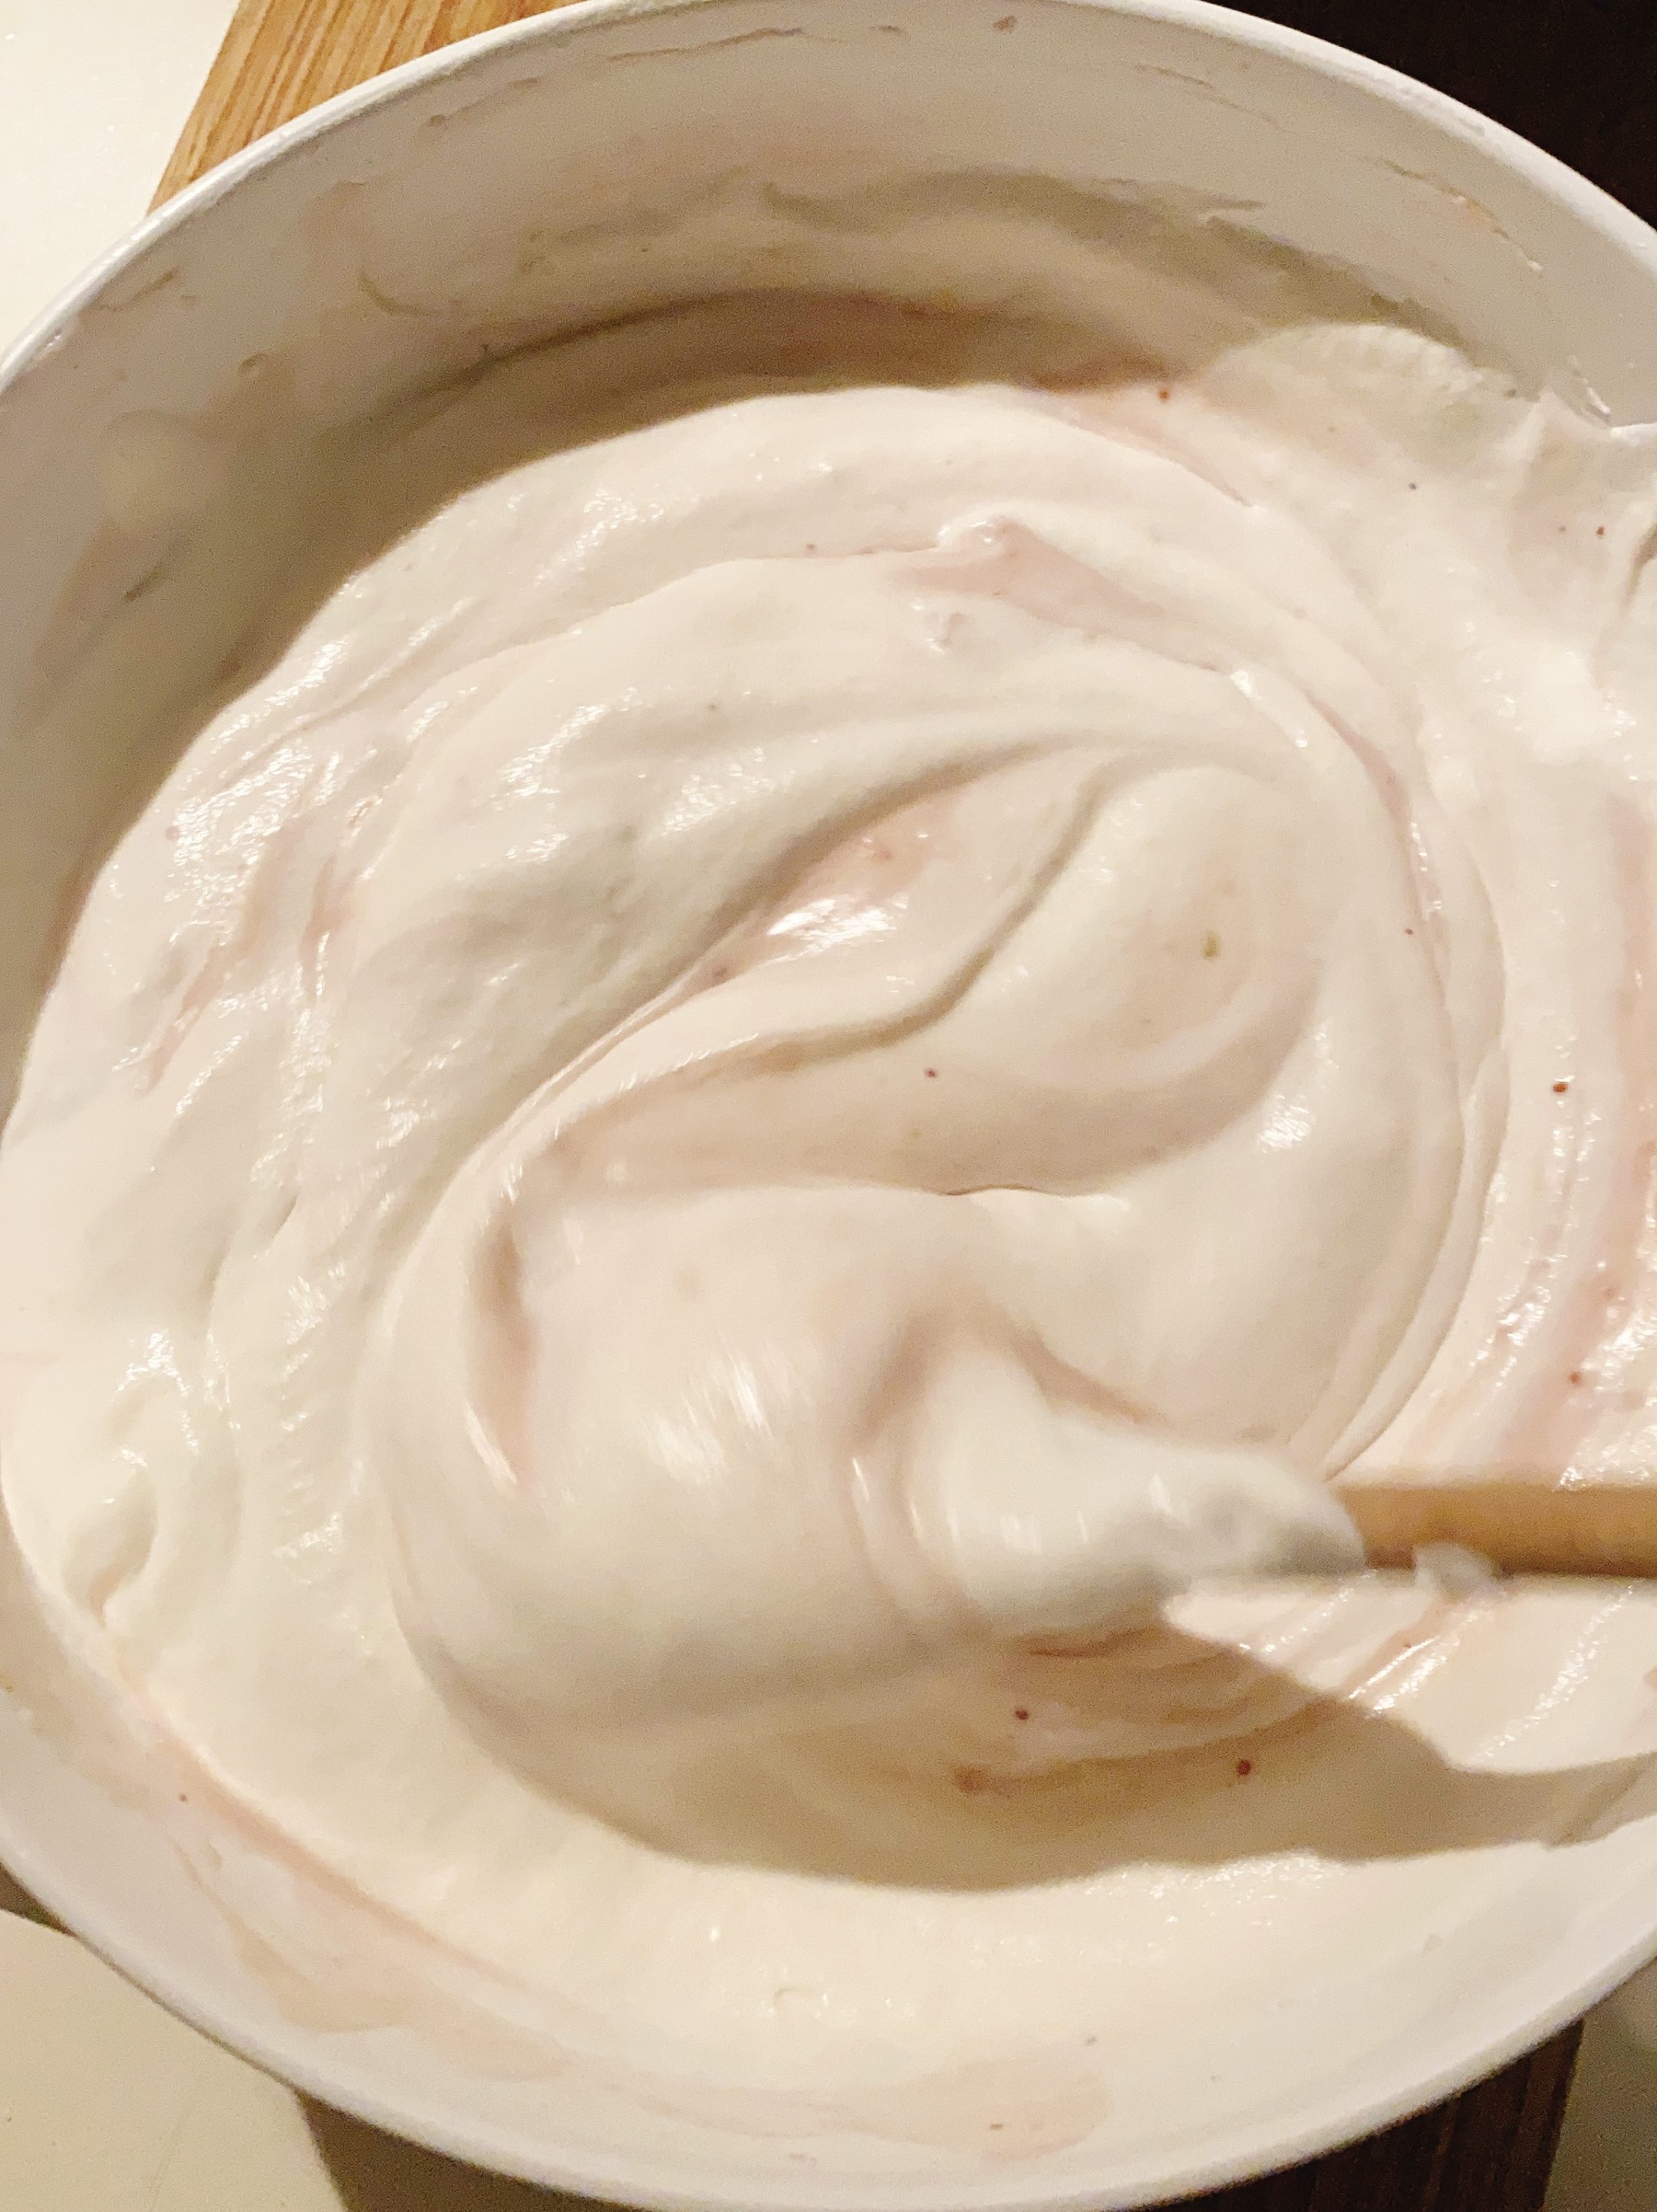
・將「蛋白霜」依次加入至「雞蛋起司糊」中,攪拌均勻。
(建議在攪拌時以緩和的手勢攪拌,由邊緣向底部往上,O字形輕輕地攪拌,比較不會使蛋白霜太快消泡。)
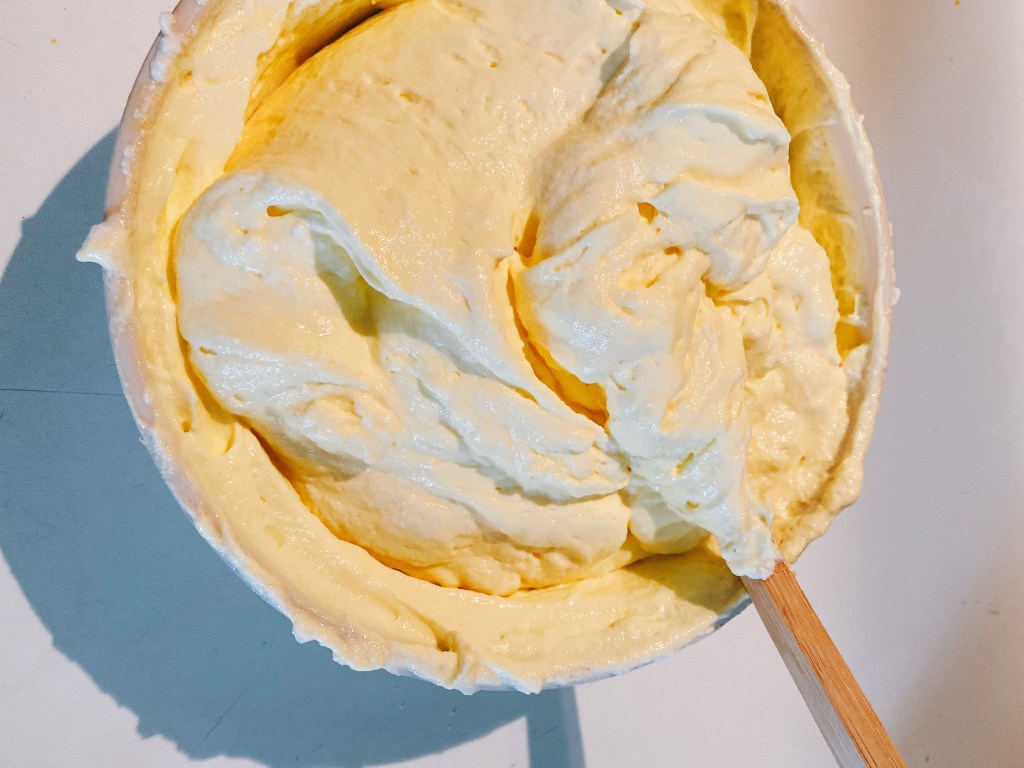
・「起司糊」攪拌至均勻柔順即可,備用。

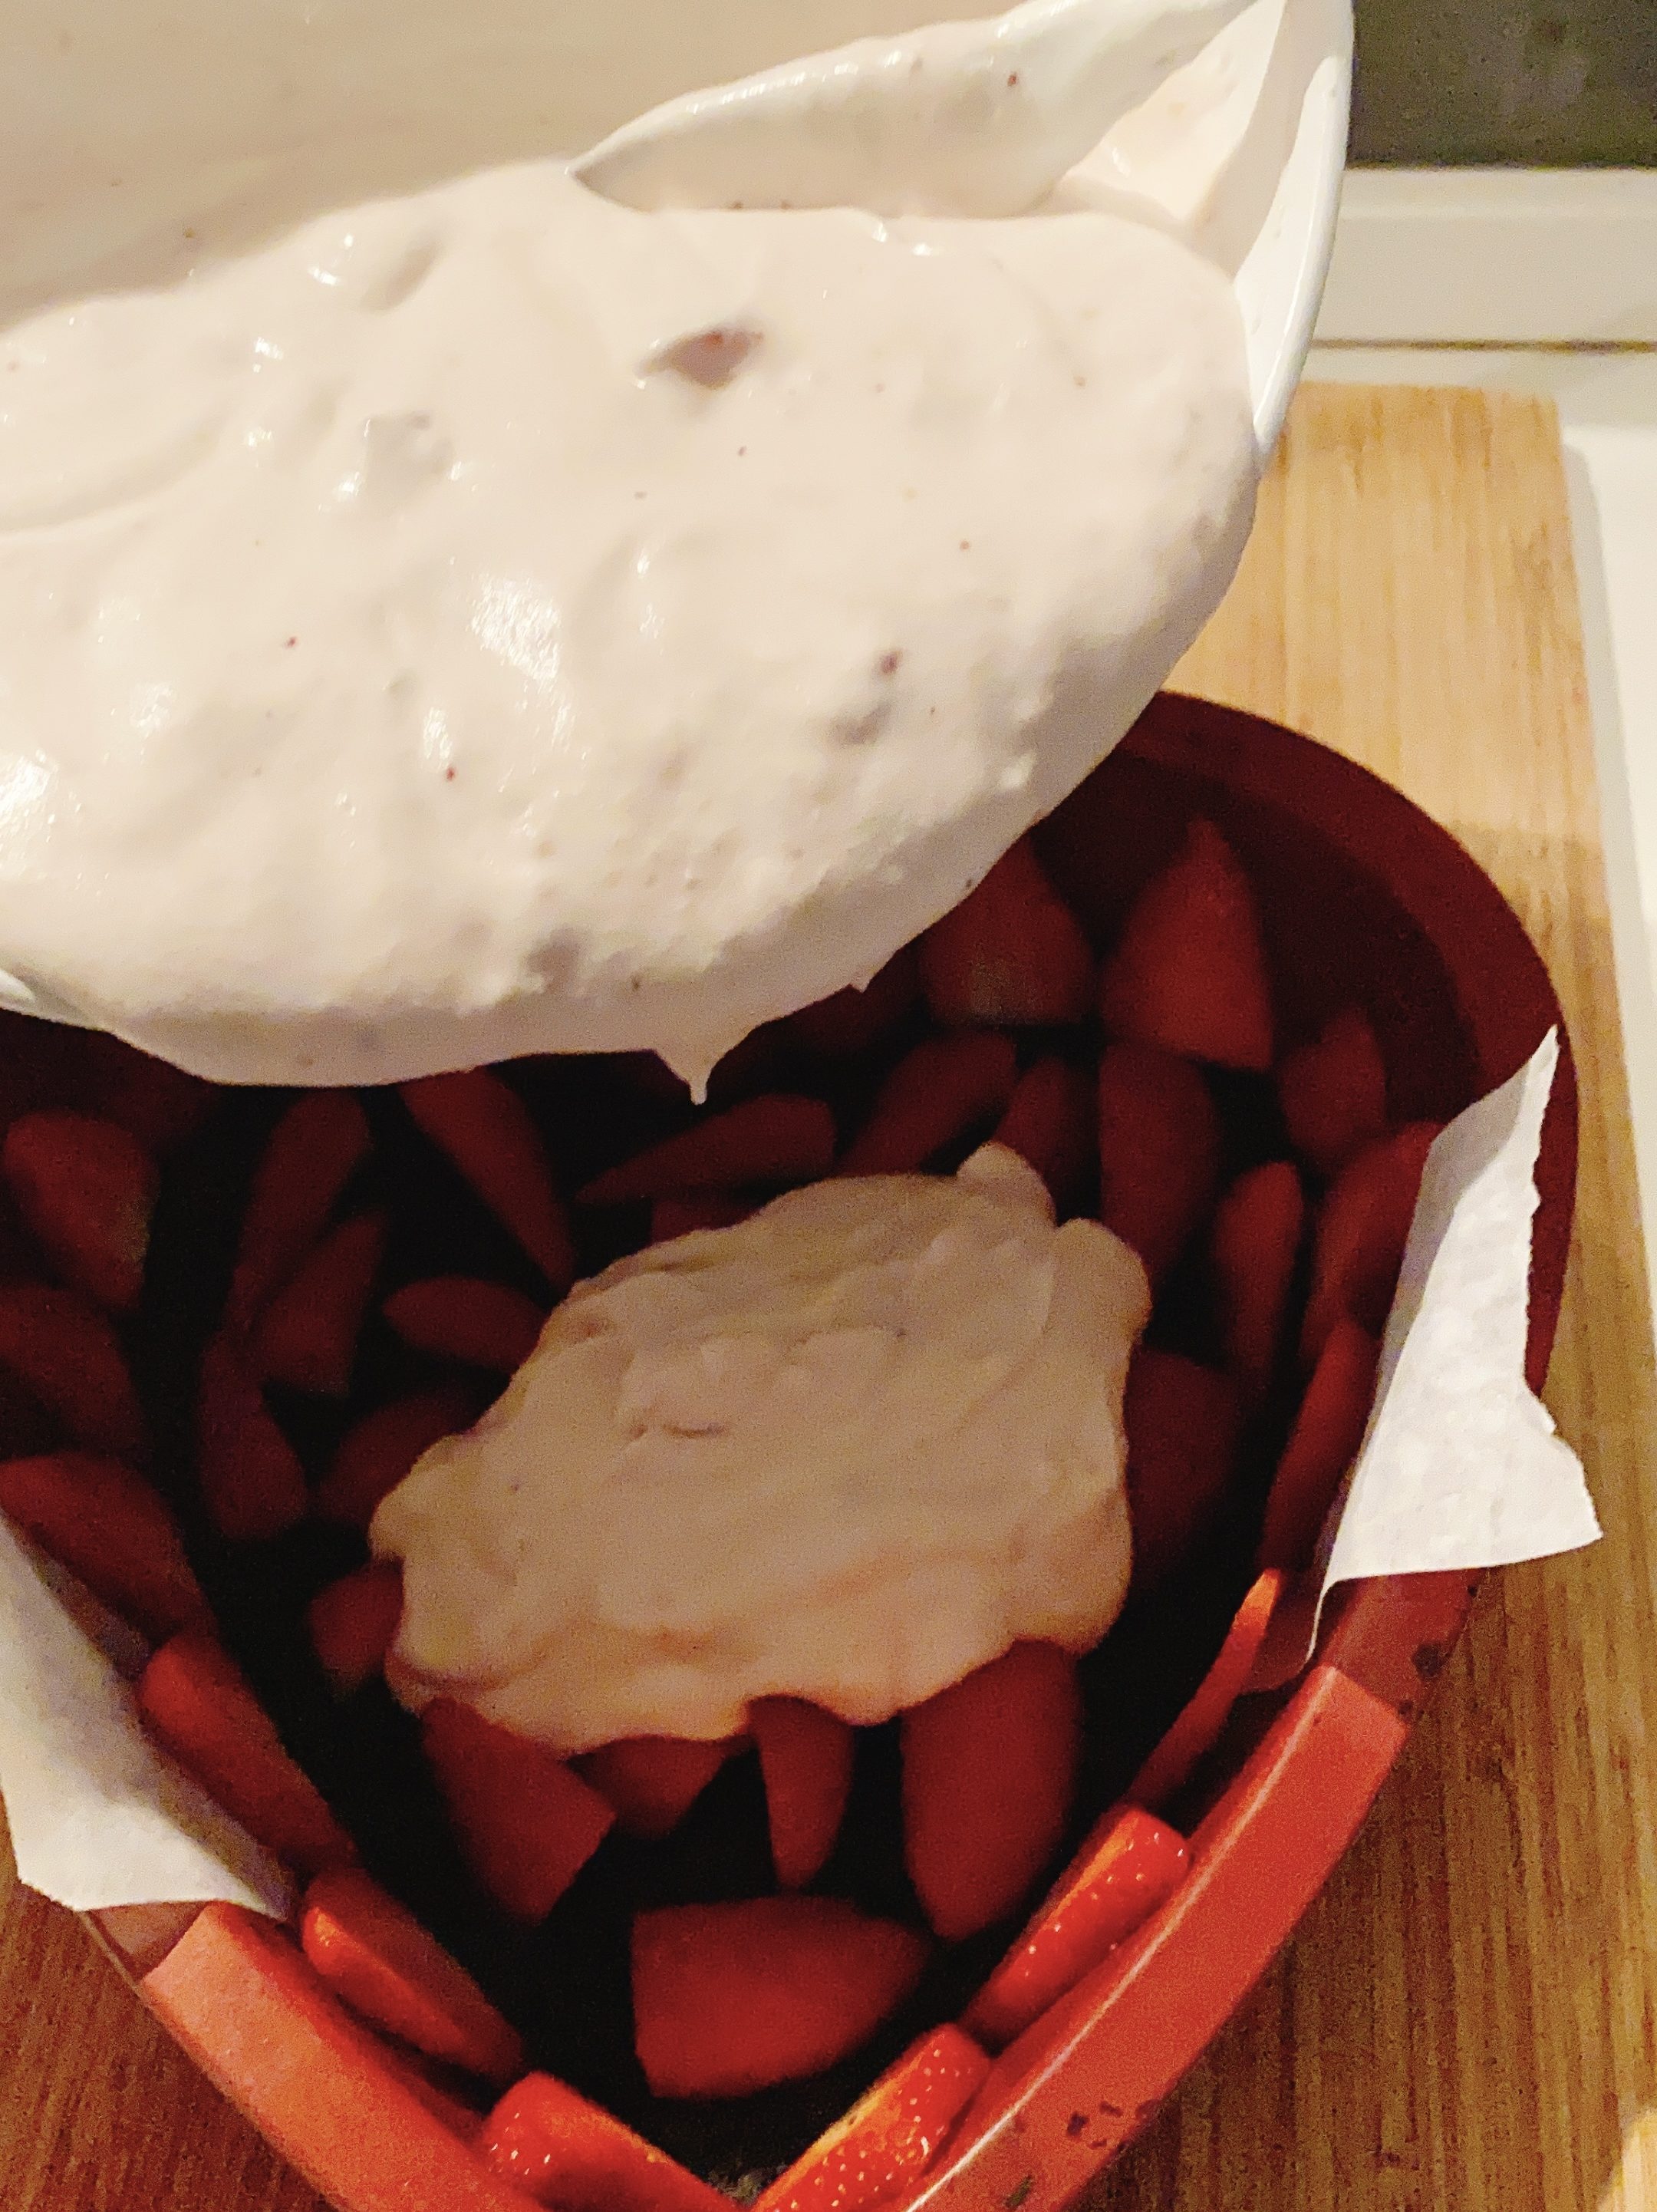
・準備好容器,倒入部分「起司餡料糊」鋪底,不需要太多的量,能夠將底部鋪平即可。
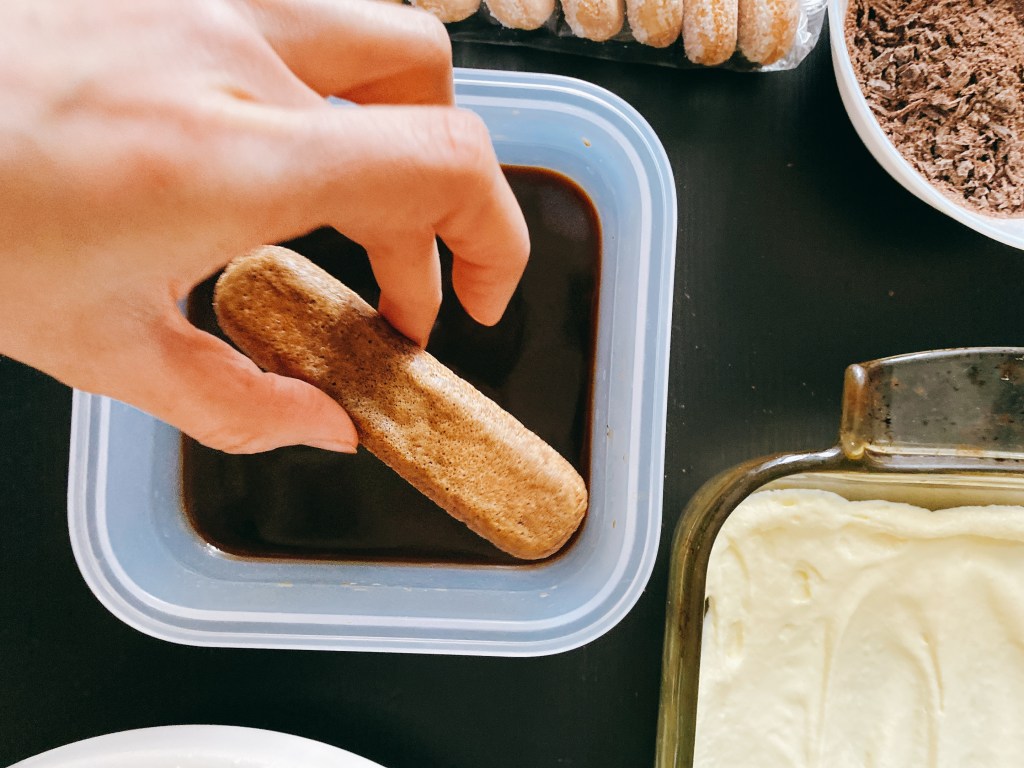
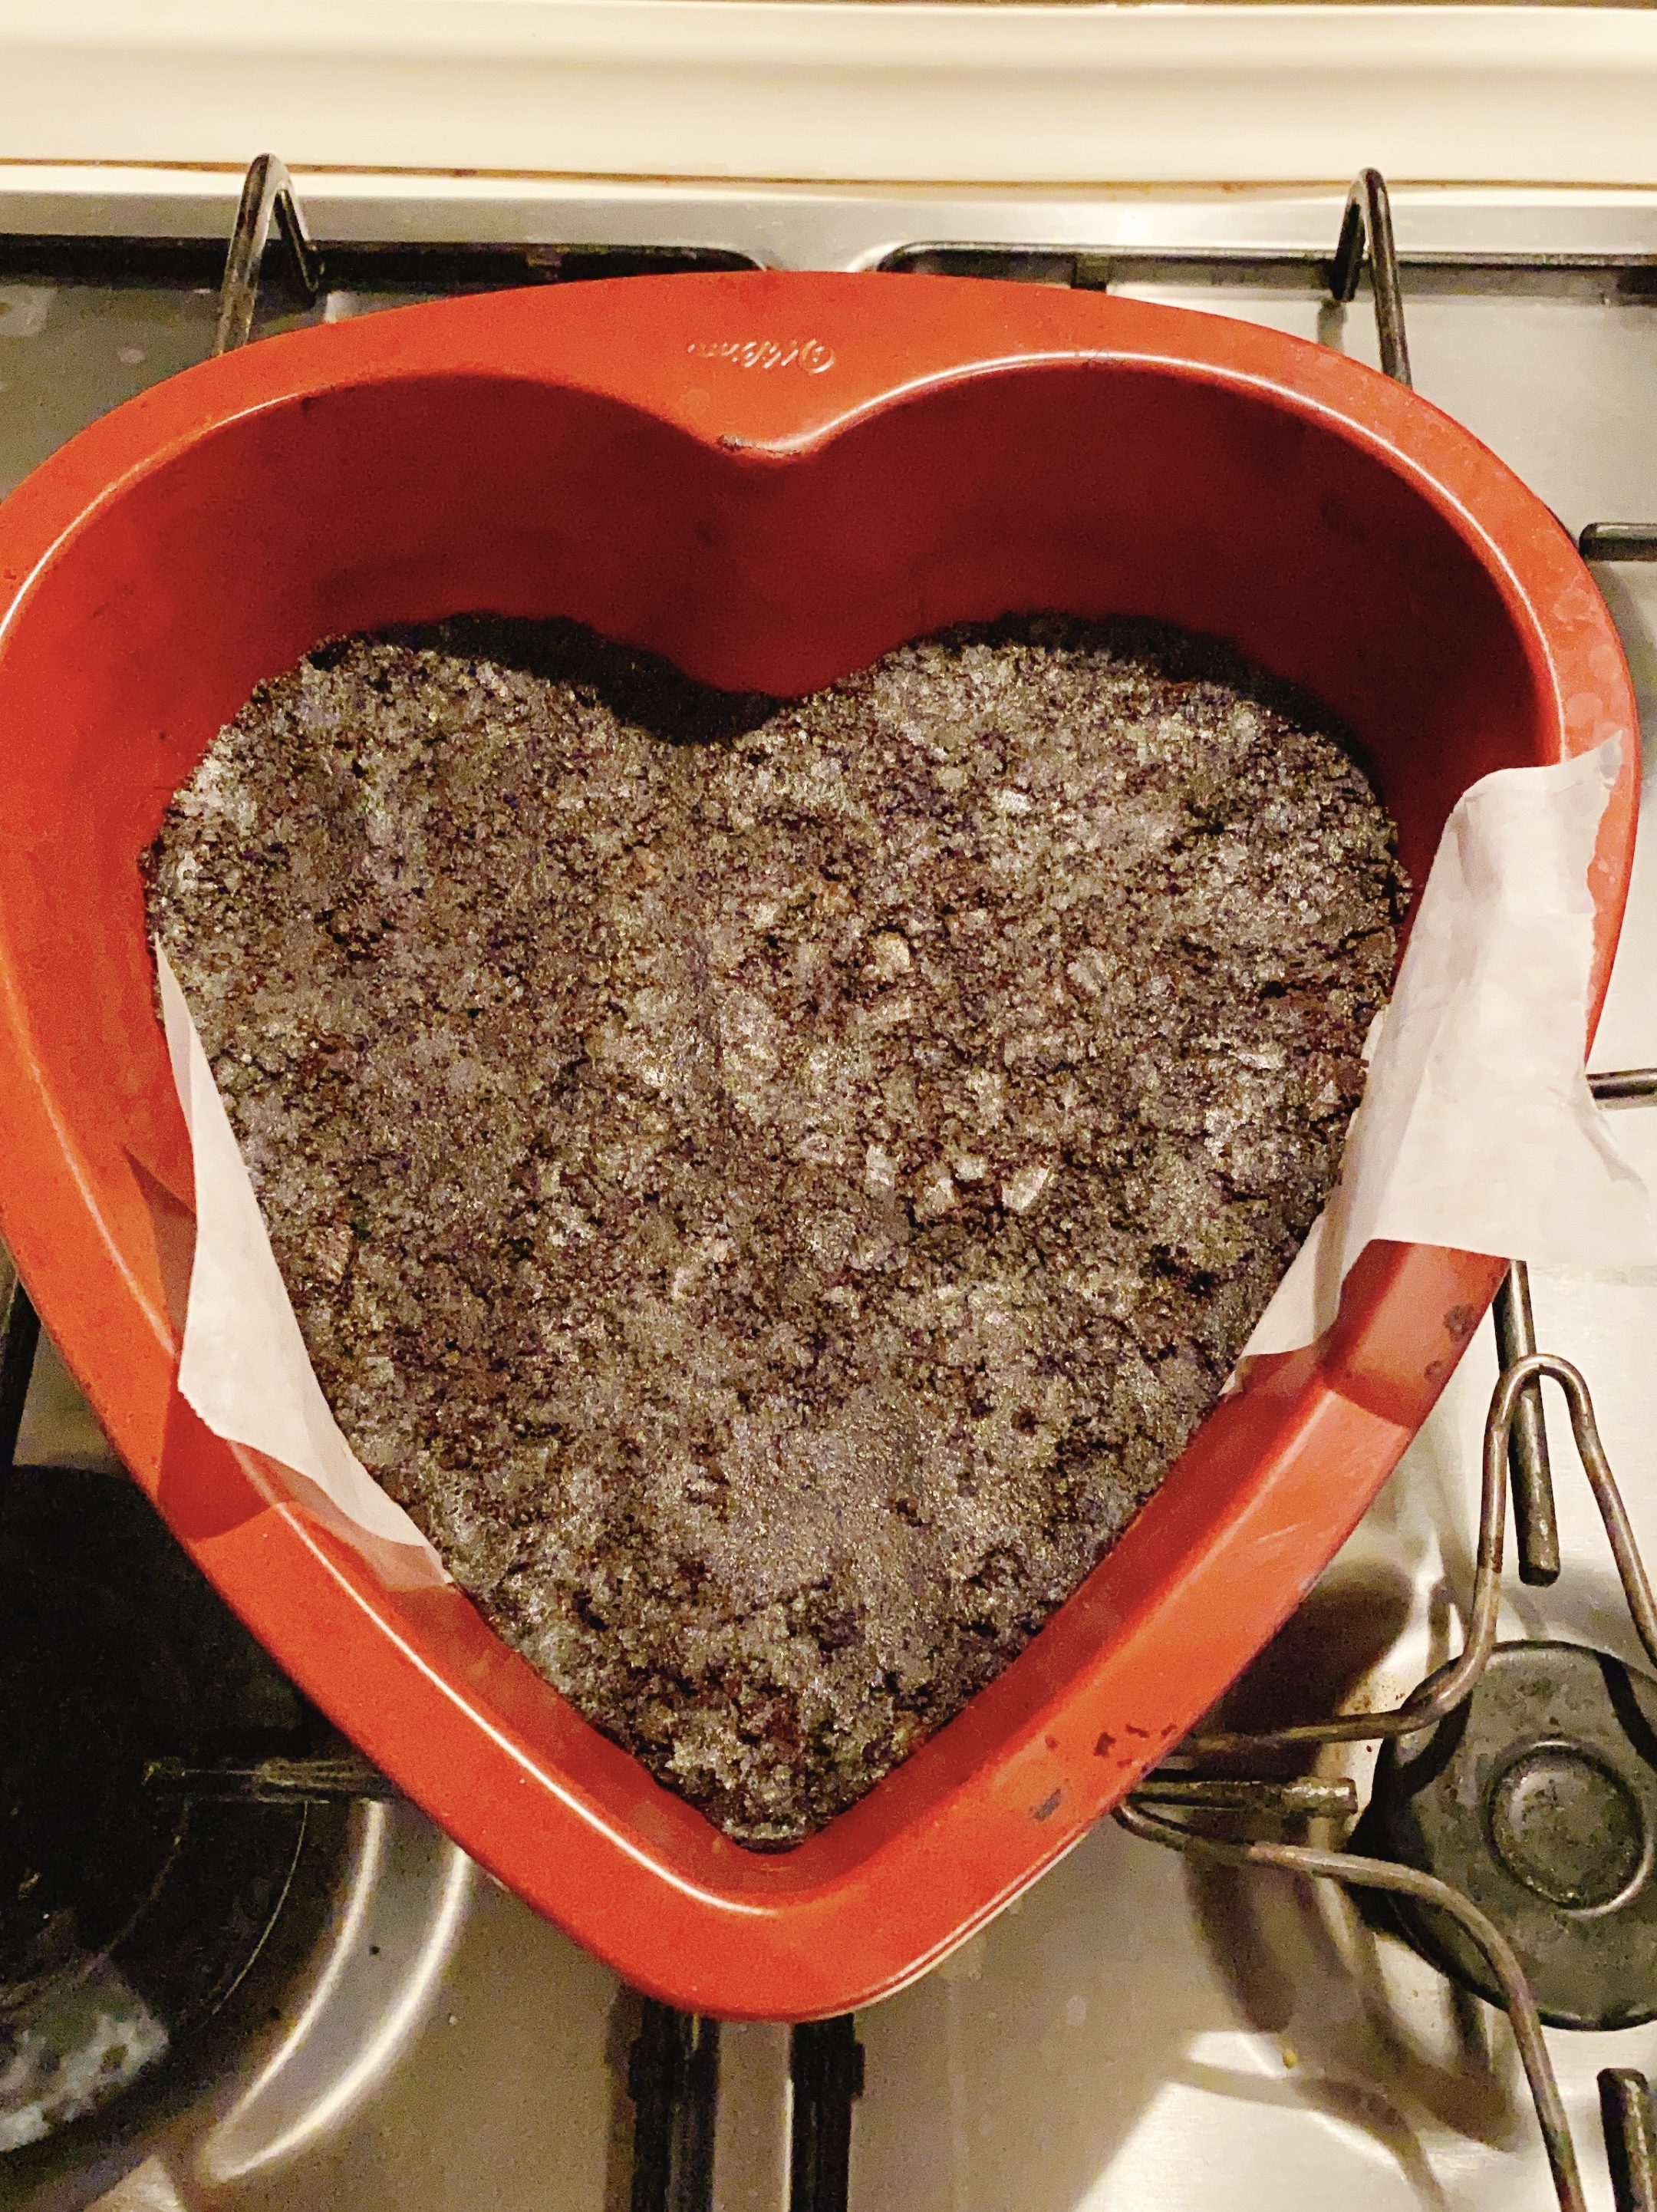
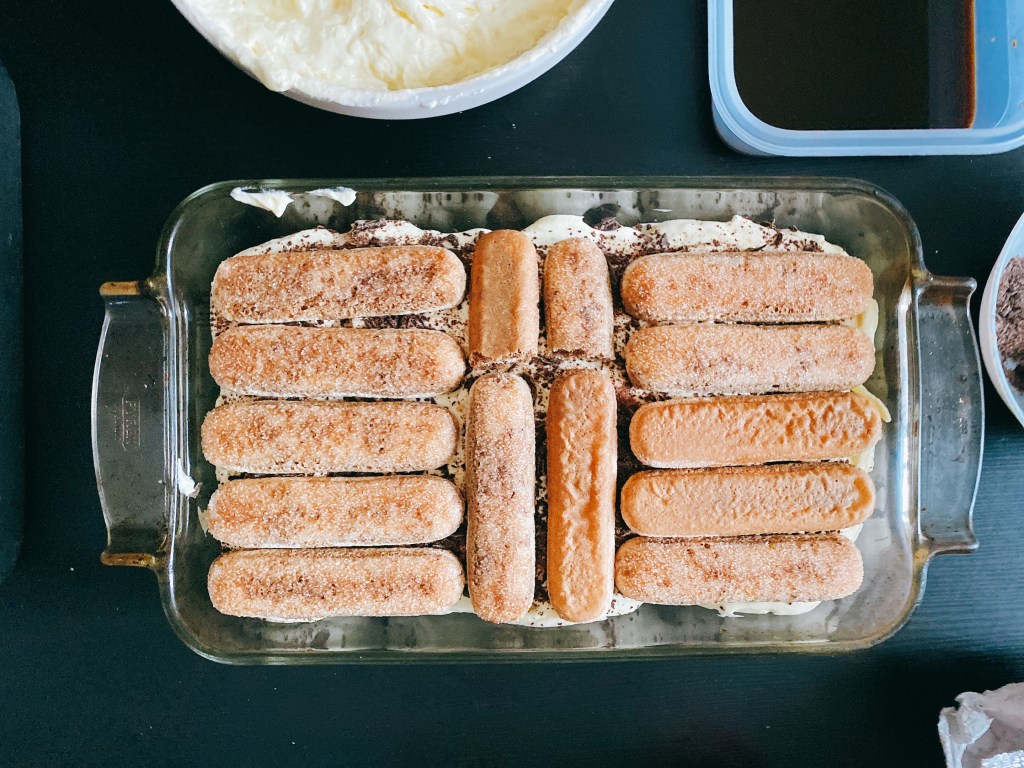
・依序將「手指餅乾Savoiardi」用「濃縮咖啡」沾濕,並放置在餡料上。
・排序的方式可以依照個人喜好。
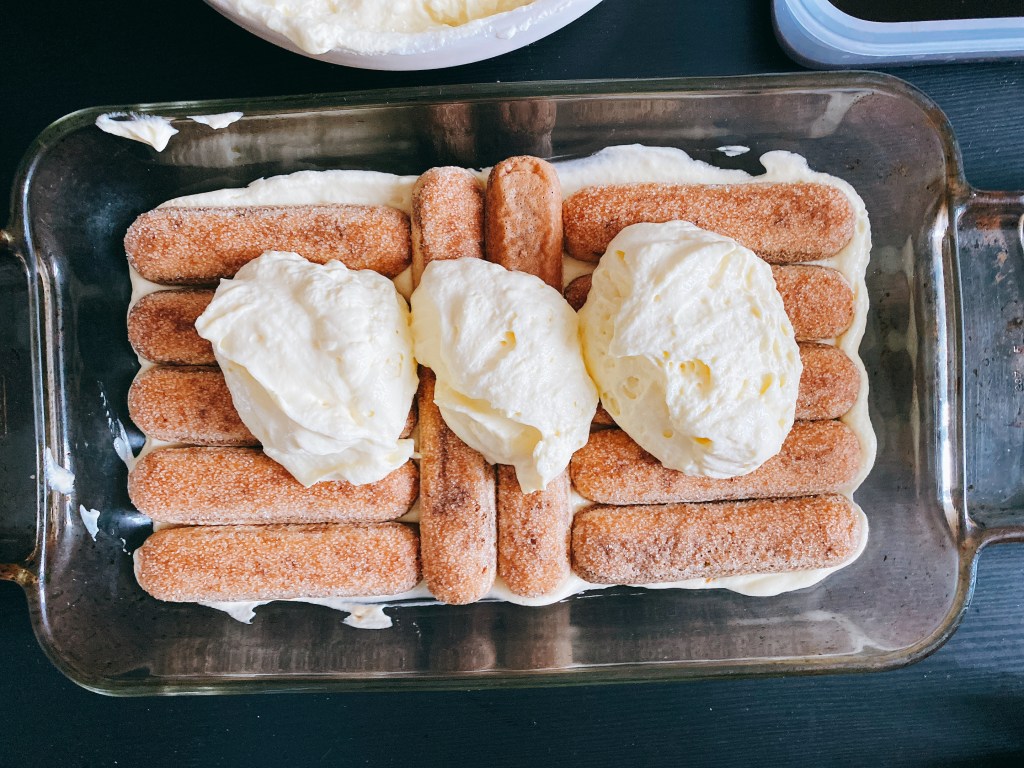
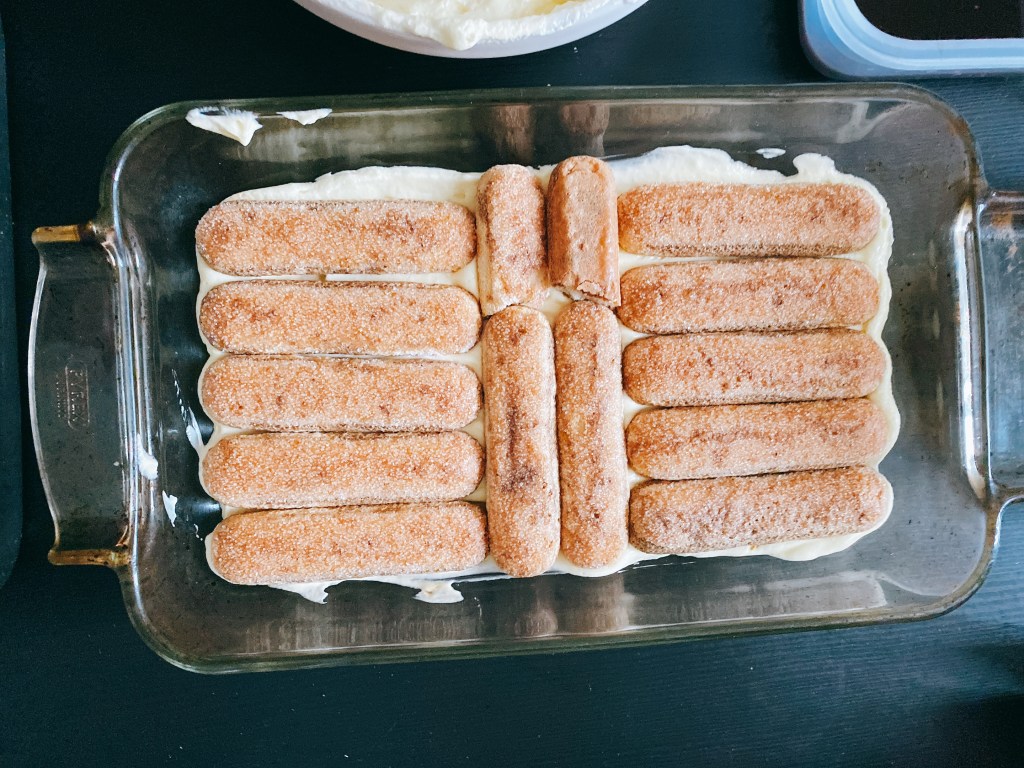
・第一層完成。
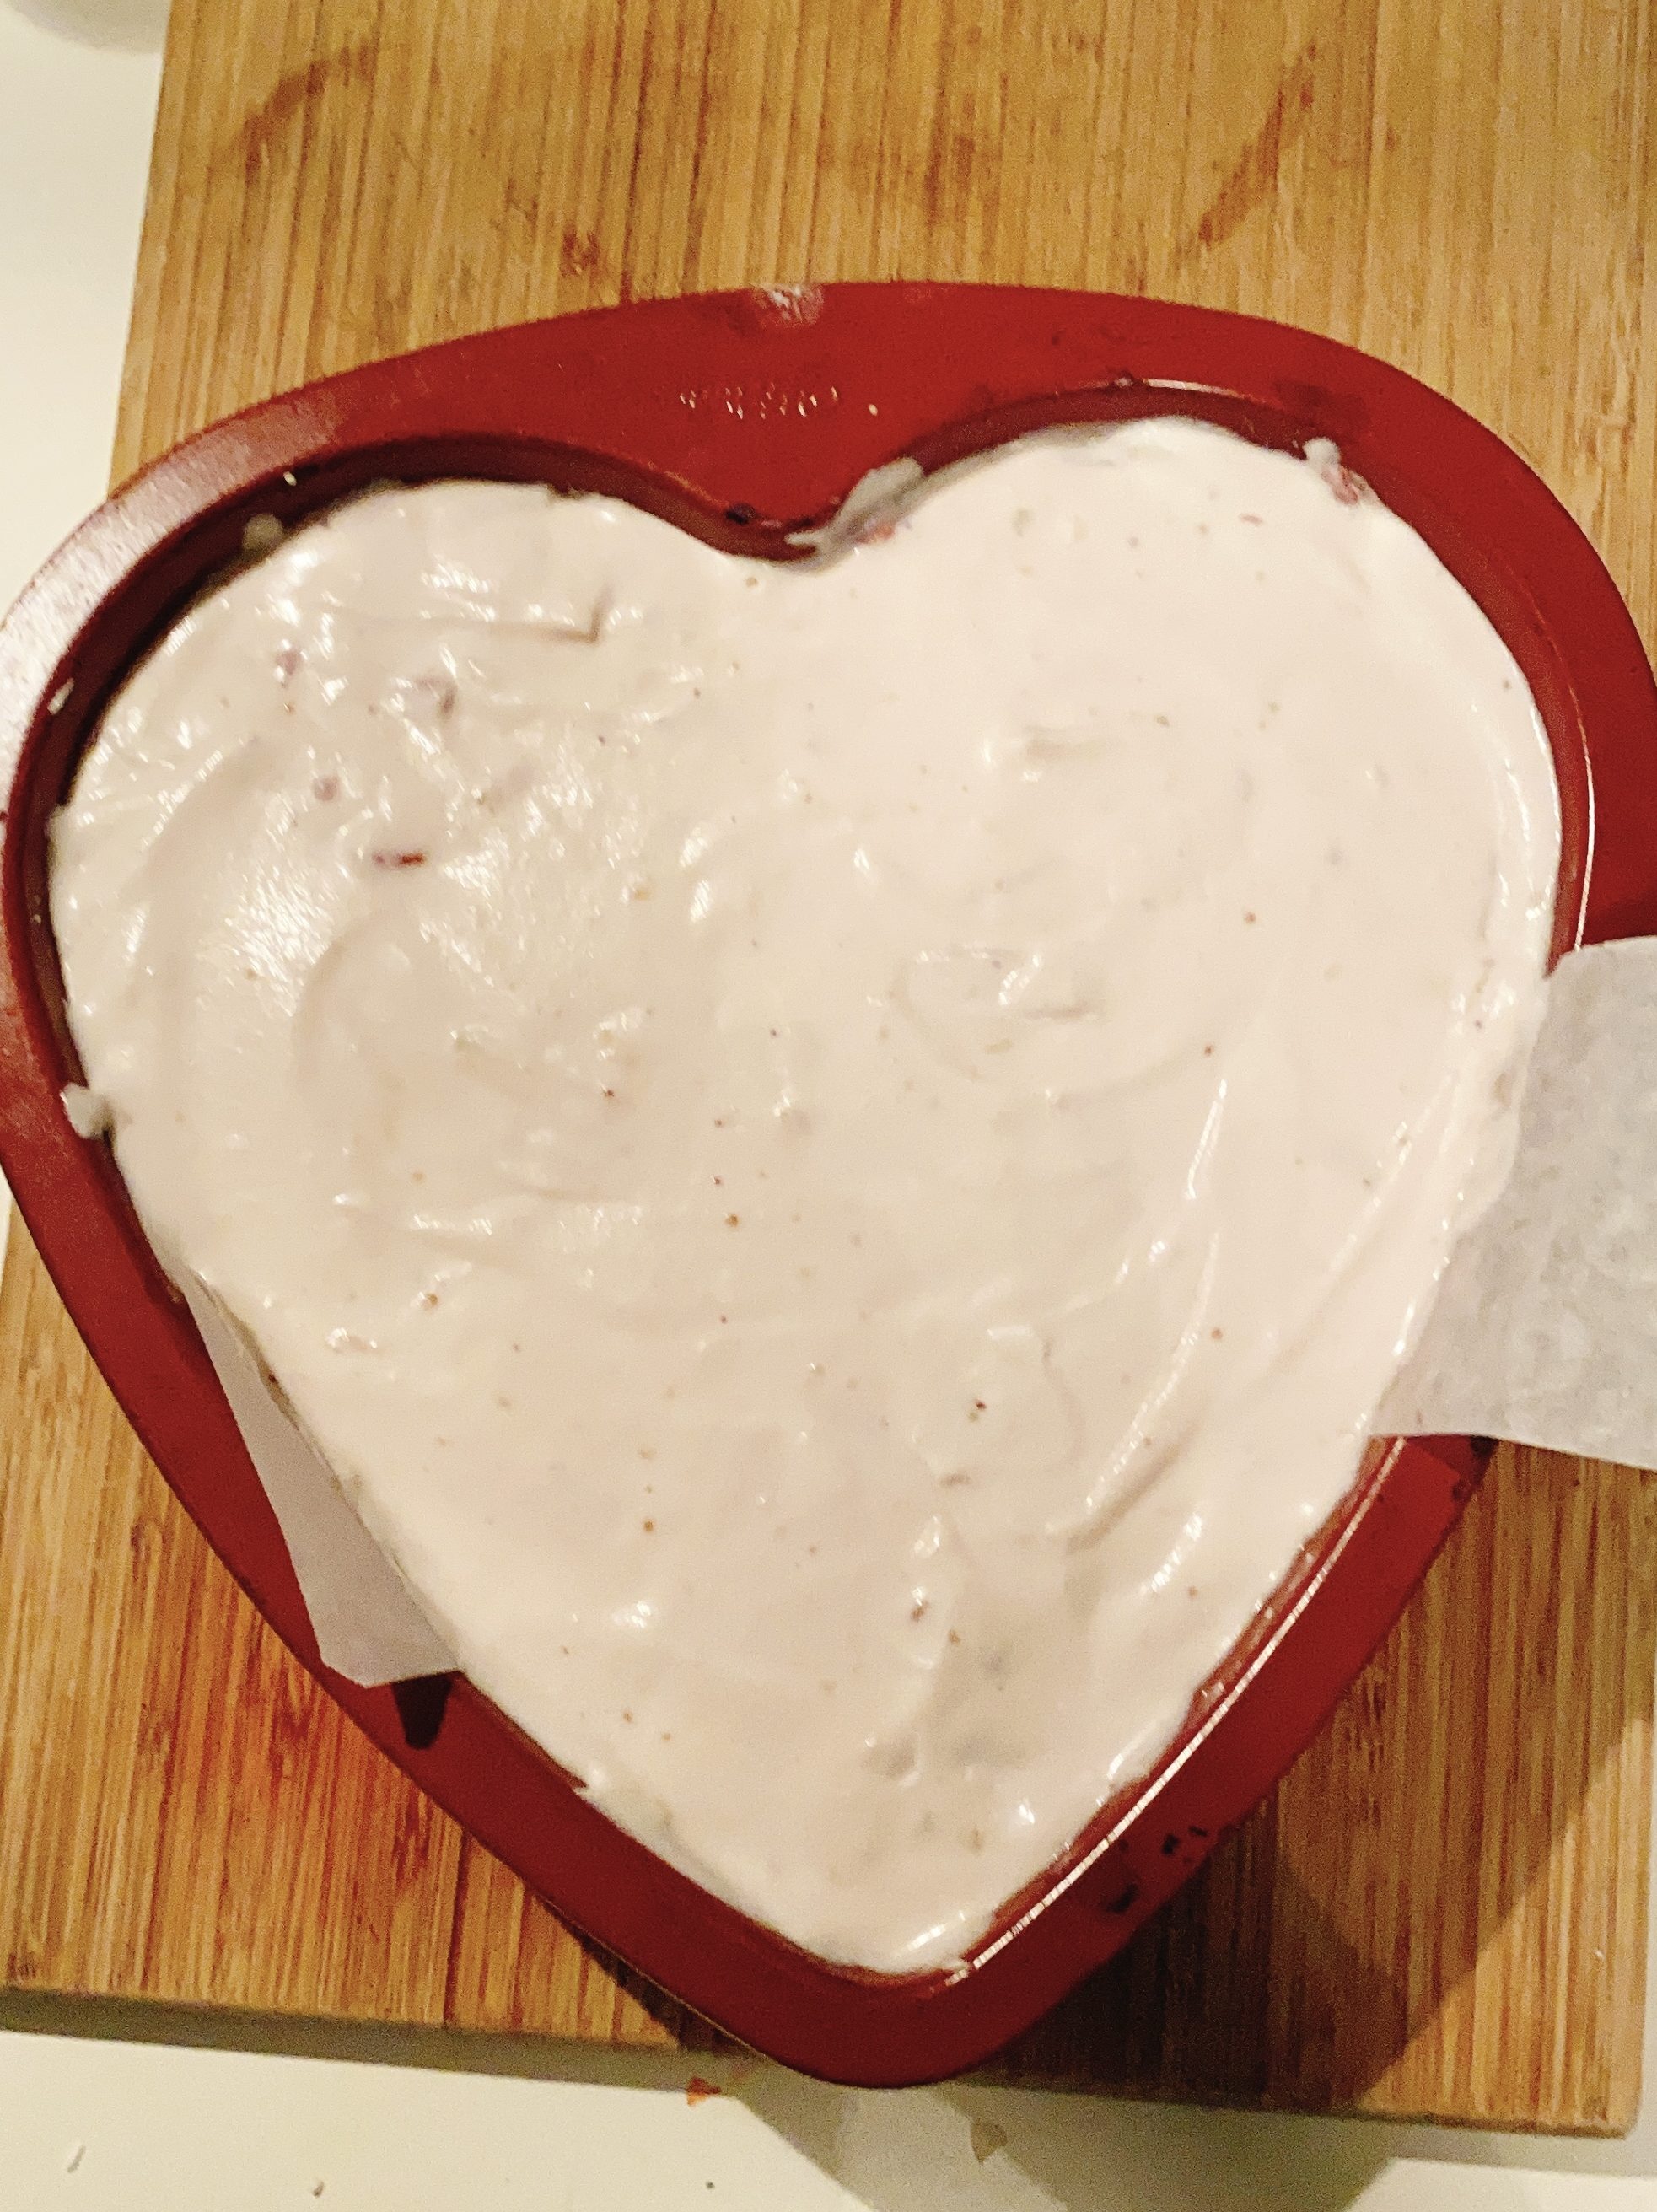
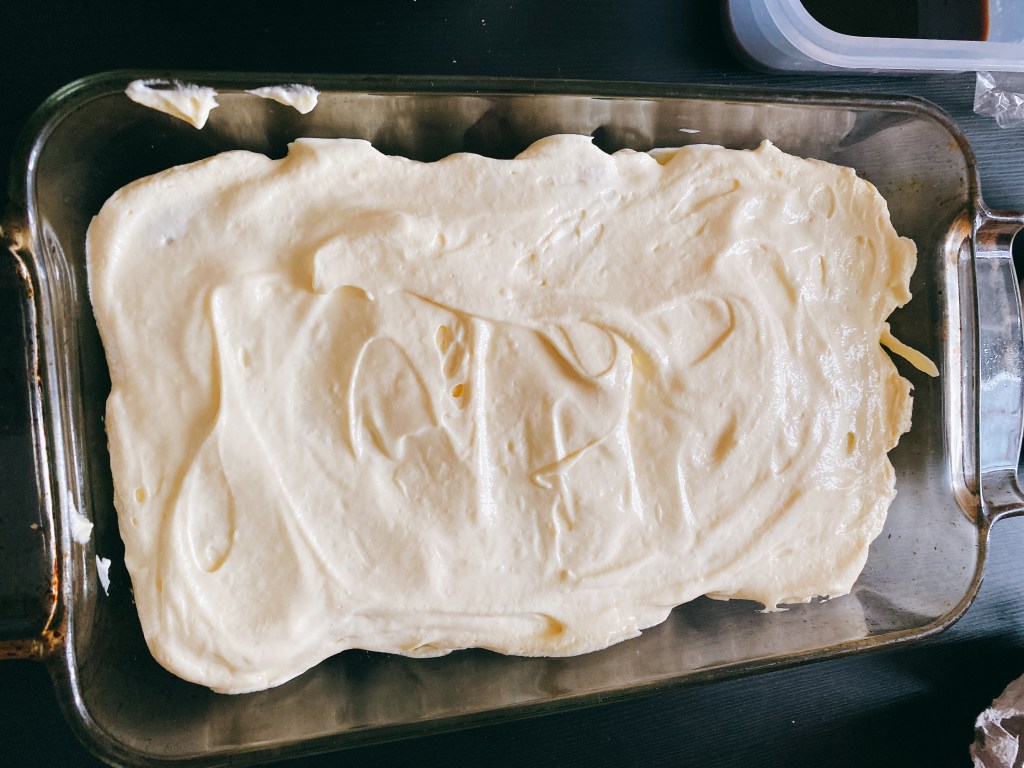
・第二層一樣以「起司餡料糊」鋪平。
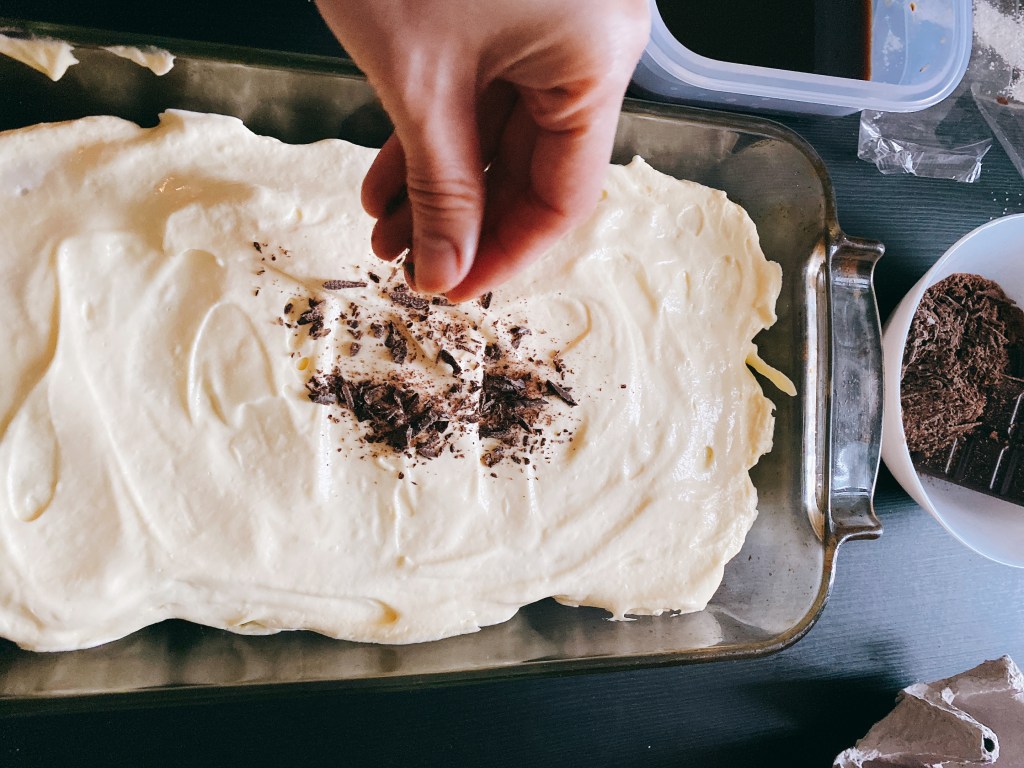
・【這邊一個小撇步,一般義式提拉米蘇沒有這個步驟】
來自拿坡里家庭的食譜。
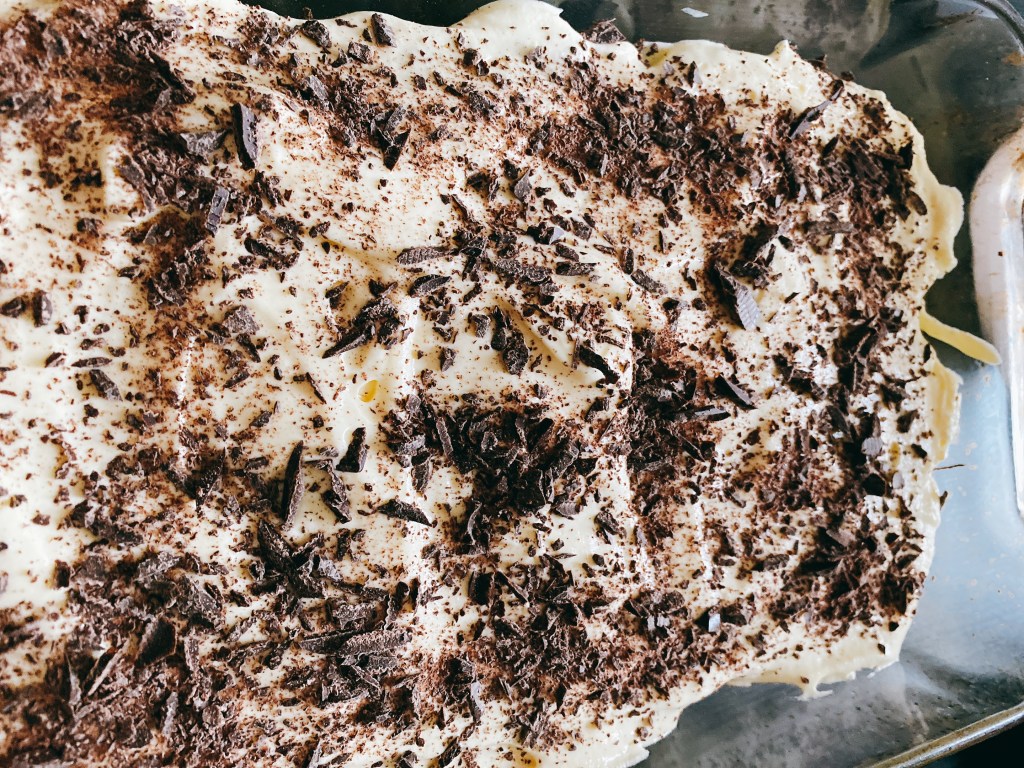
・在平整的起司糊上,均勻的撒上「黑巧克力碎片」。
(碎片的用意有兩個:能夠稍微阻擋手指餅乾被下層的餡料過度的浸泡;再來可以增加品嚐時的口感。)
・重複排列「手指餅乾」與塗抹「起司餡料」的步驟,直到無法堆疊。
・以筆者所使用的玻璃容器為例,一共能夠完成2層。
・如果您所使用的容器高度較高,可以再按照上述步驟,依次堆疊上去。
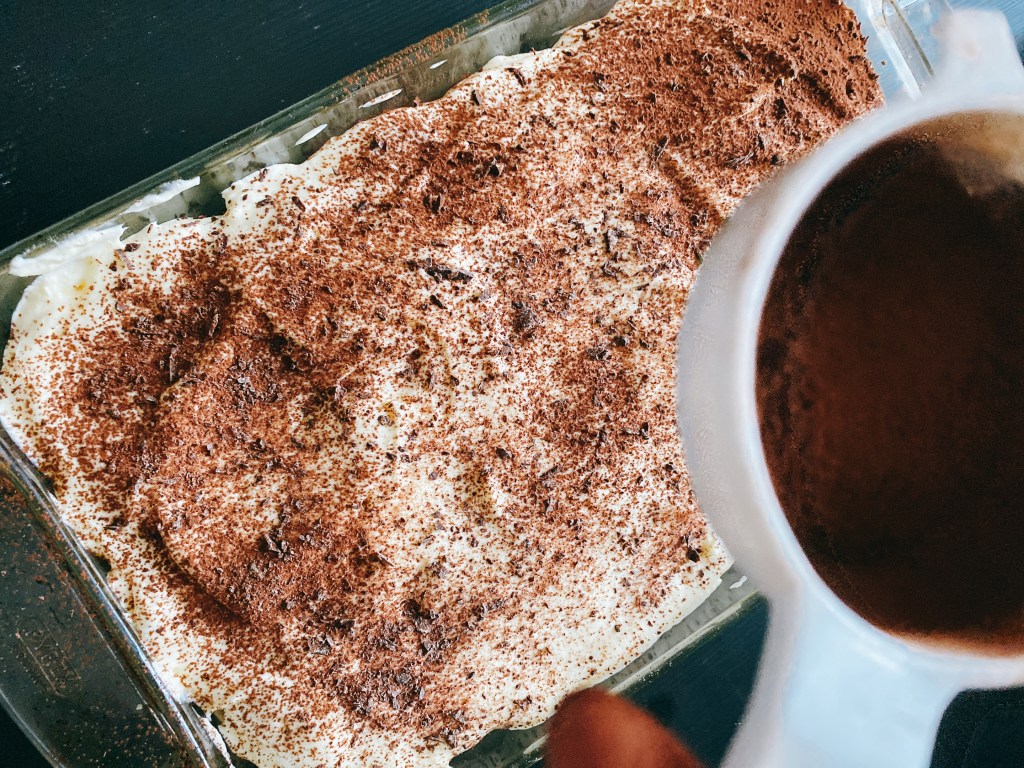
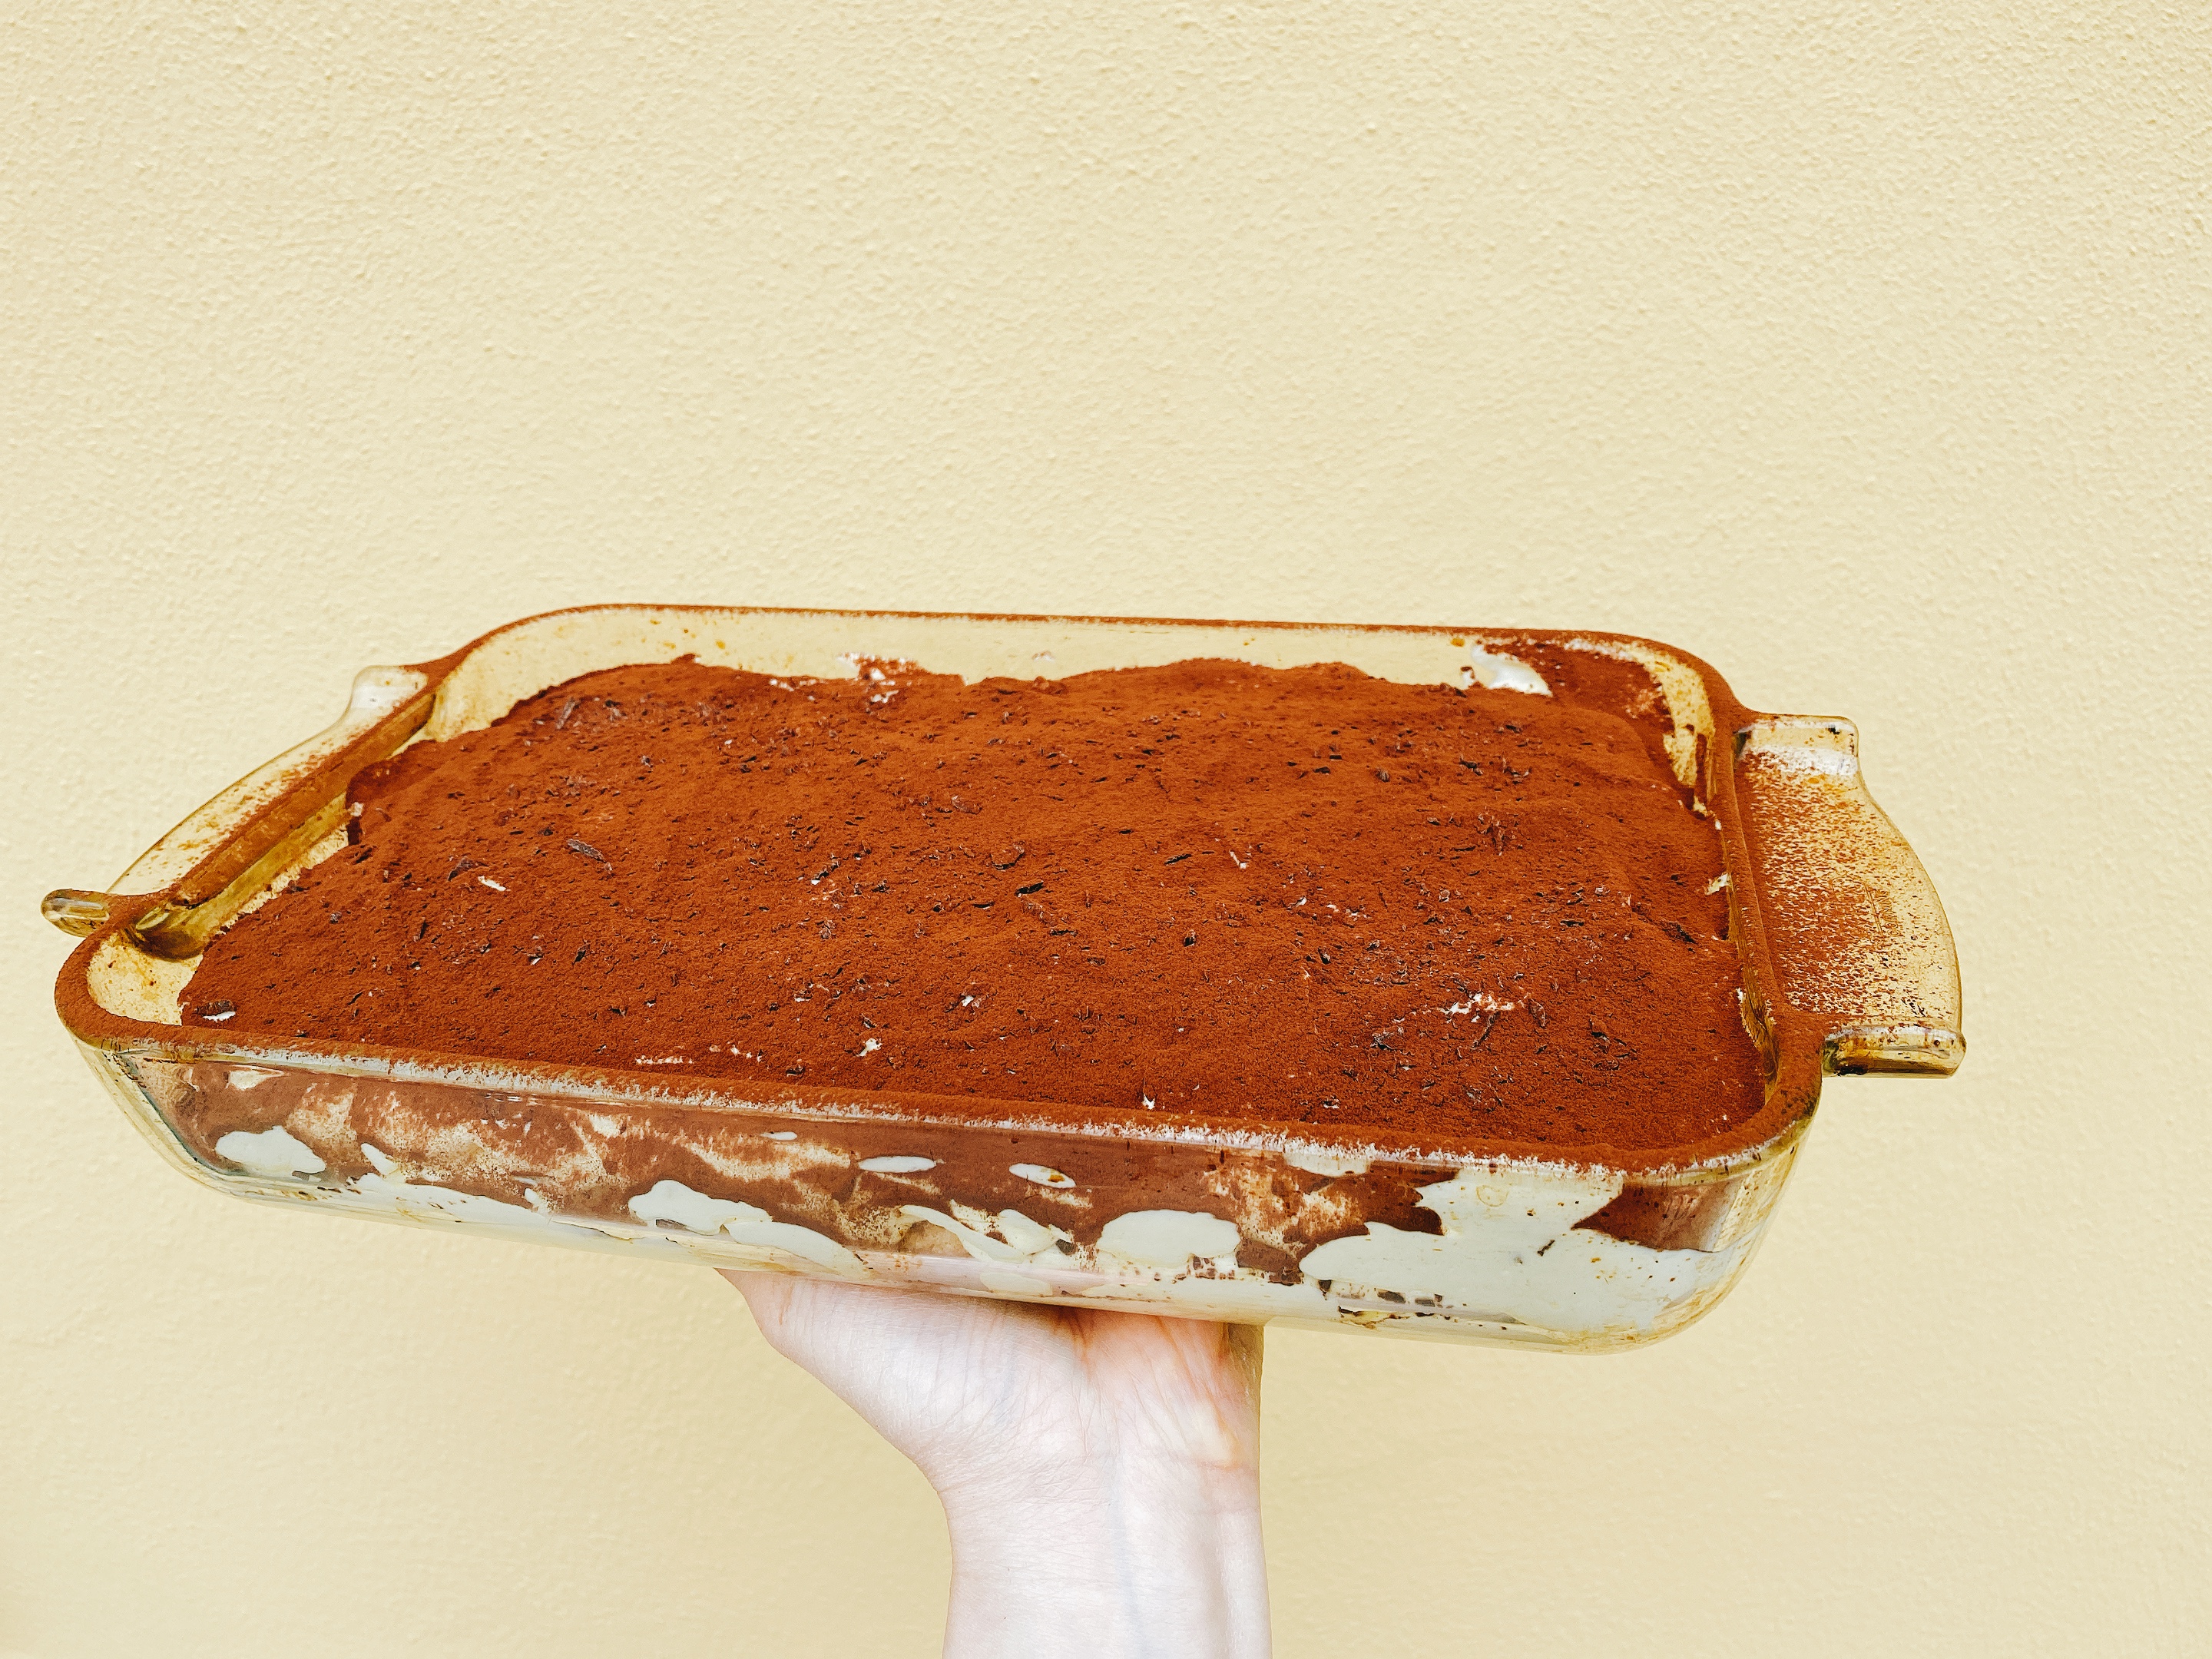
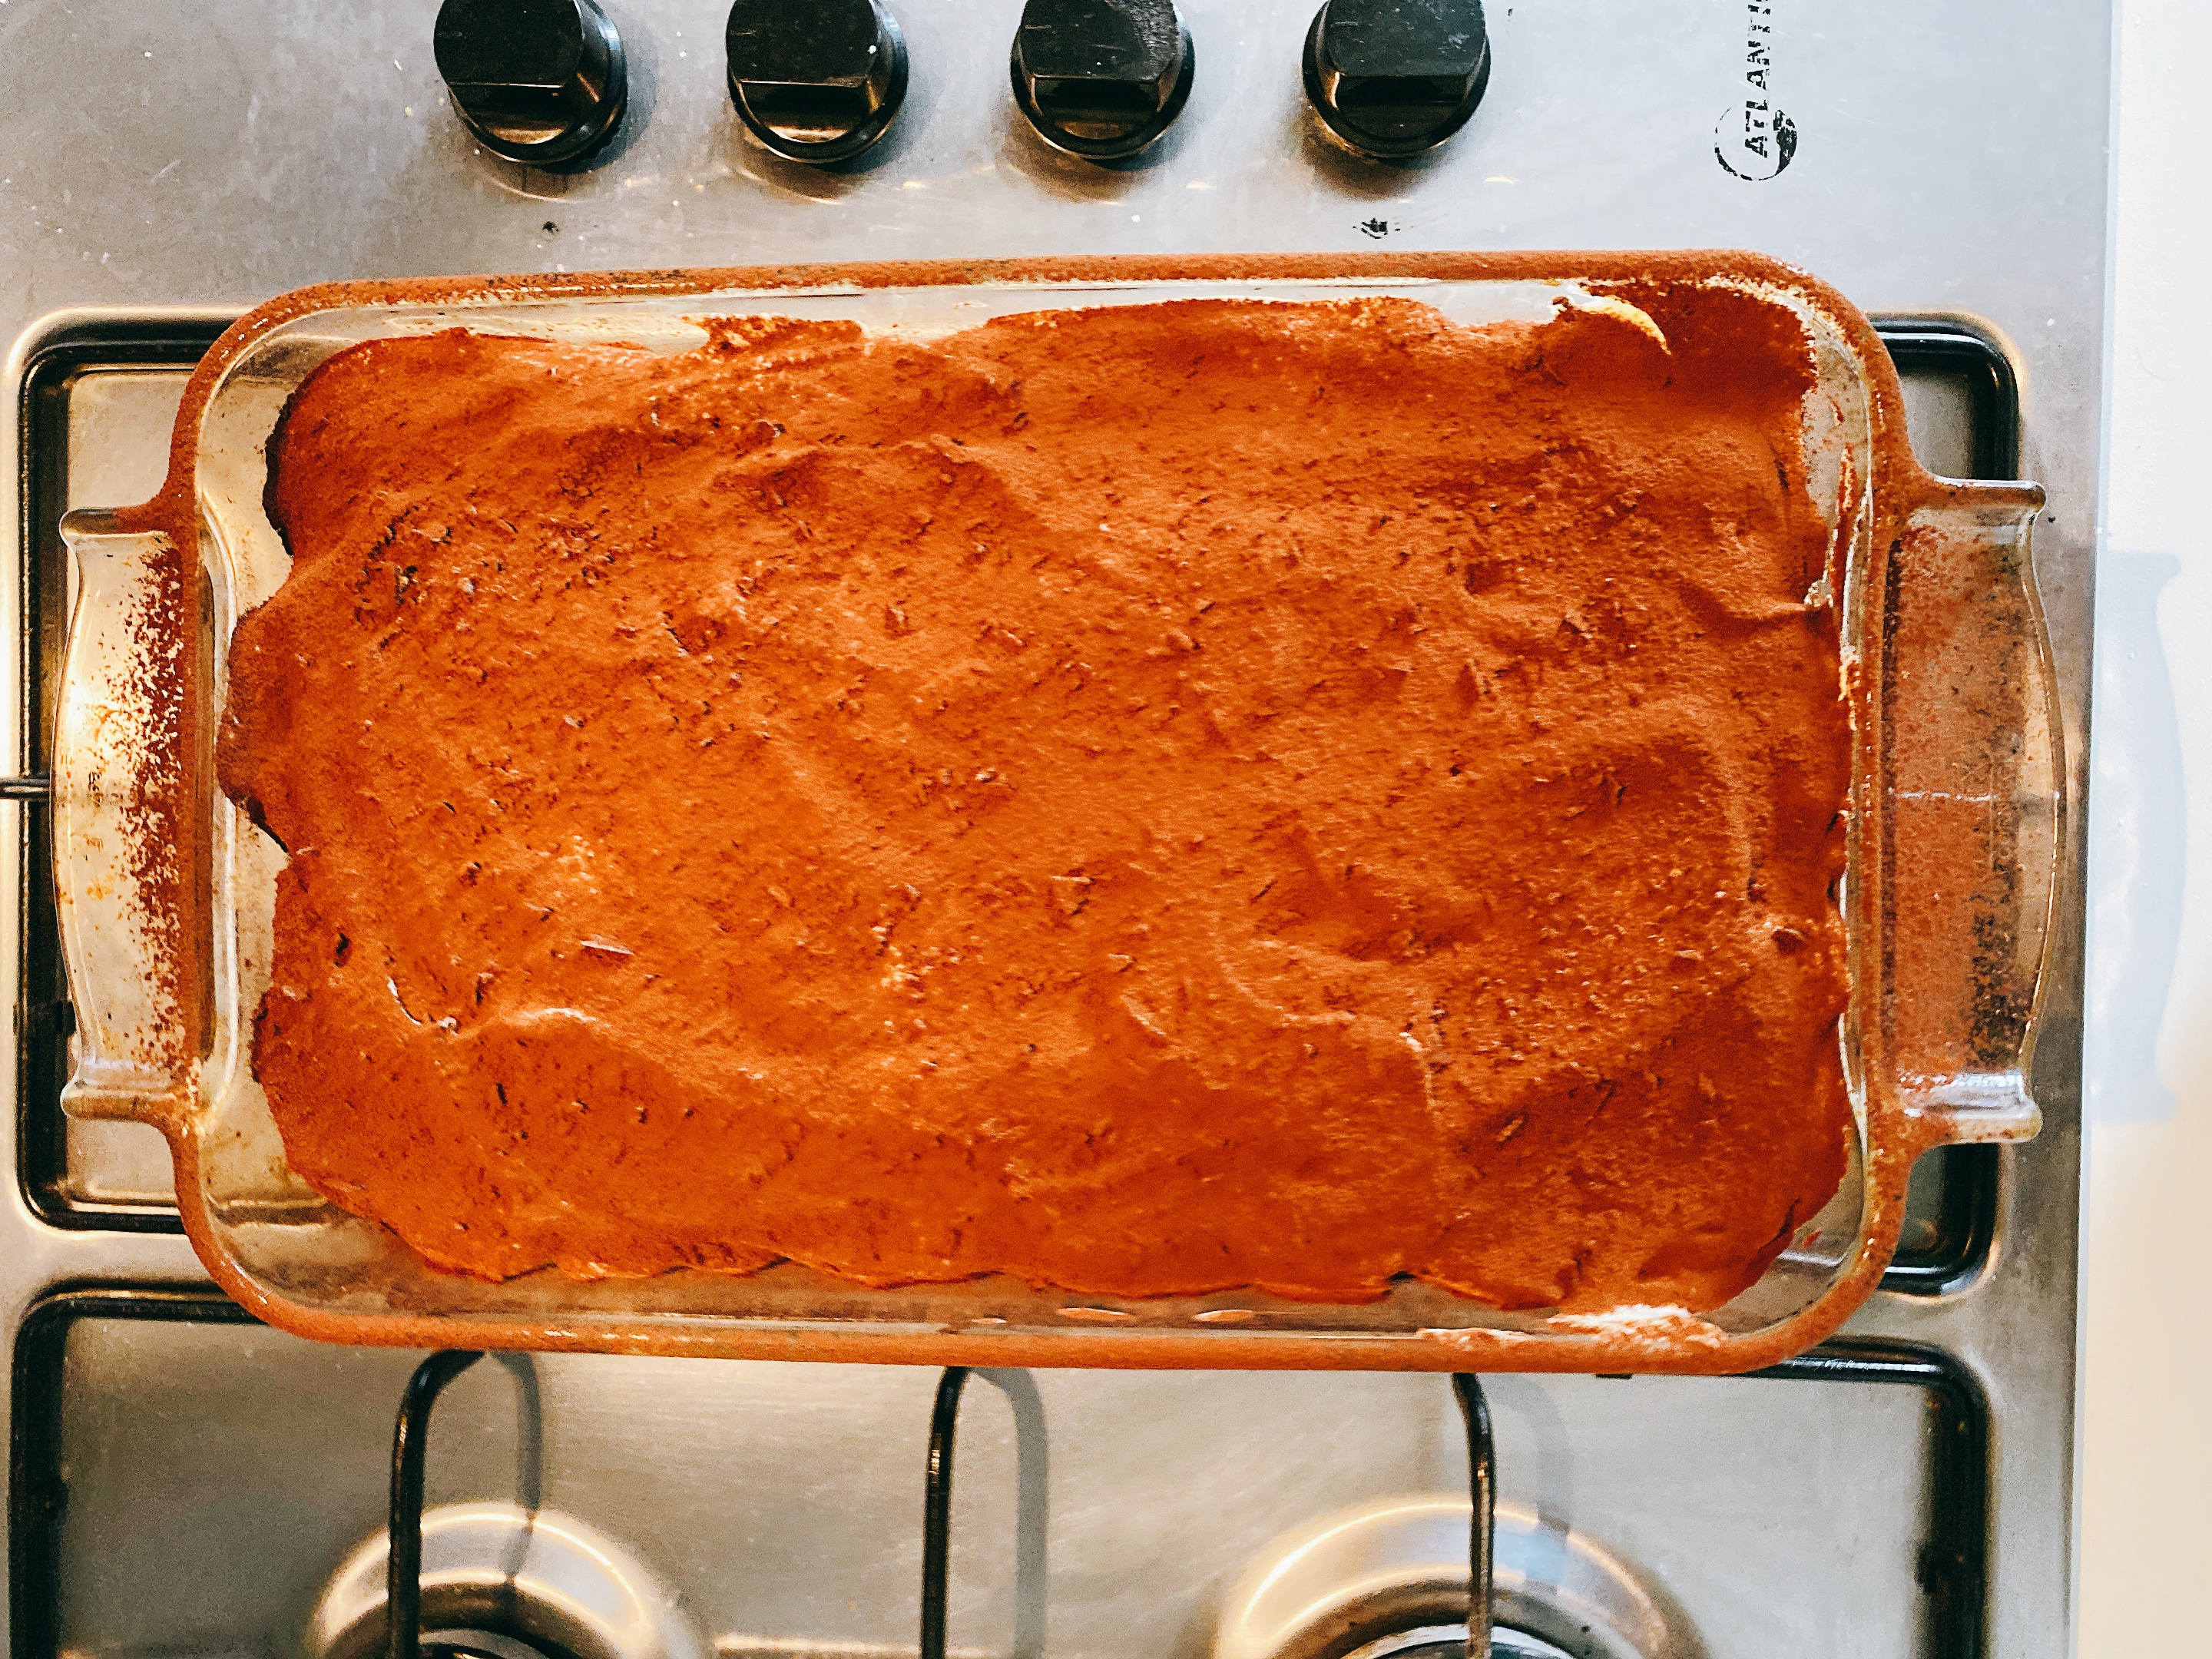
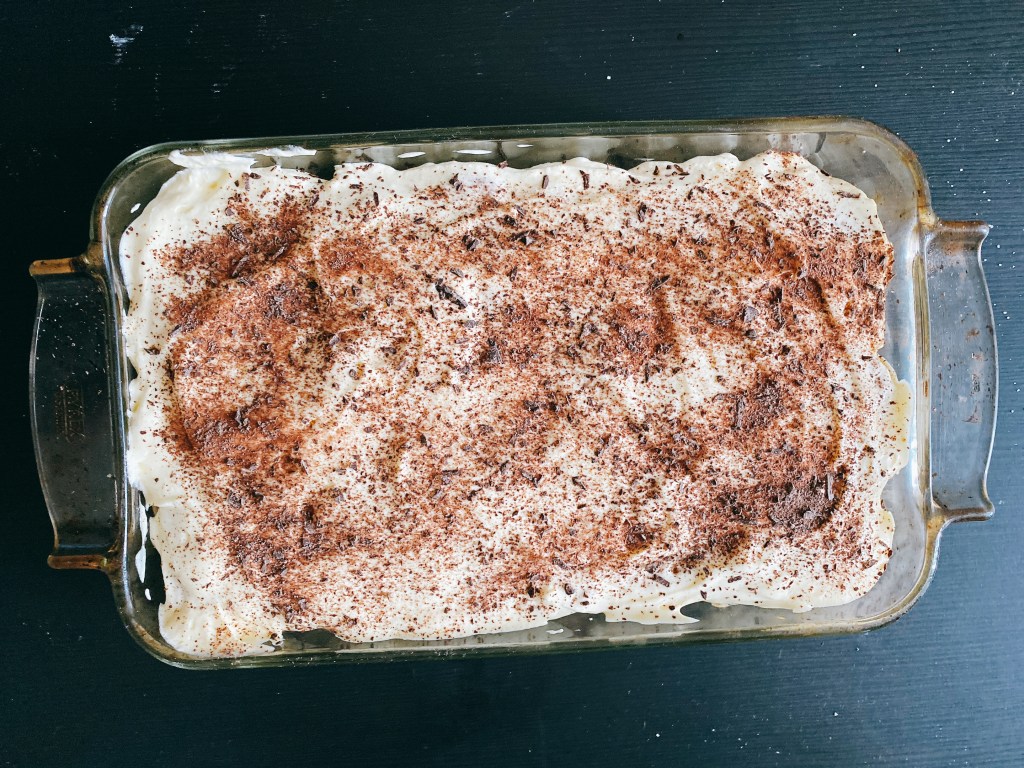
・最後請均勻的灑滿「可可粉」。
・建議完成好的「義式提拉米蘇」,務必要放入冰箱冷藏約2小時為佳。
・稍微讓起司糊定型,並讓手指餅乾能夠更好的與餡料結合,形成最佳的口感。